


NOTE: You will need to already have Crossware Email Signature set up in your Microsoft 365 environment before setting up and using our Sent Items Feature.
If you have already set up Sent Items, proceed to the second section Assign Users and Groups.
Activate the Sent Items Feature in Crossware Email Signature Portal
1. Access Crossware Email Signature and log in:
Make sure that you sign in / are signed in as the Global Admin of your Microsoft tenant (the one associated with your Crossware Email Signature account).
2. Go to the "Admin" section of the portal.
3. Click on "Sent Items Configuration" under the Outlook section.
4. Click the Set up Sent Items button.
5. A dialogue box should pop up requesting that you accept the application key:
- Click Accept Key.
6. Pick the Microsoft account that you'd like to accept the application key for.
7. You will see the list of Crossware Sent Items permissions that must be accepted to use Sent Items.
Read through these permissions and click "Accept".
NOTE: If you do not see the permissions dialogue as above, this step has already been completed by someone in your organisation.
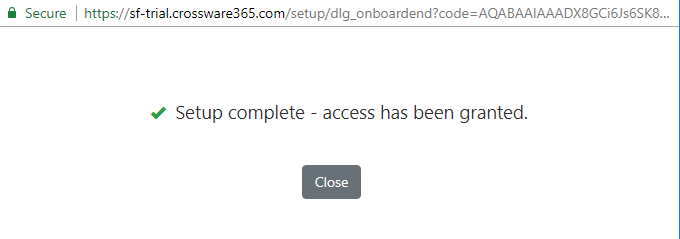
8. You should see confirmation text Setup complete - access has been granted.
- Click the "X" to close.
9. Your page will automatically refresh and display the Sent Items section with a permission granted confirmation.
Assign Users and Groups
Now it's time to choose which Users and Groups in your organisation you would like to activate the Sent Items Feature for.
- Click Add users.
10. Click Users or Groups (depending on the request) and use the search tool to find the user/s.
11. Type in the name of the User / Group from your Azure Active Directory Admin Center that you want to enable the Sent Items feature for.
- Click the correct name from the suggestions drop-down. Then click Add User
12. Close the dialogue box, your page will reload showing all Users and Groups with Sent Items applied.
13. If you want to add more users, or delete users from the list, click the "Add users" button.
- Delete users: click the checkbox next to the User or Group you'd like to delete then click the Remove button.
Grant permissions for Sent Items Processor
1. Go to your Azure portal > Select Microsoft Entra ID
2. Expand the Manage tab > Select Enterprise applications > Click on the Crossware Sent Items Processor application
3. Expand the Security tab > Select the Permissions option > Click on Grant admin consent for Mail Signature
The Sent Items Feature has now been successfully set up in your Crossware Email Signature account. Signatures will now be applied to emails in your Sent Items folder in Outlook.