If your users prefer to have signatures visible in the notes client before the emails are sent, the signature should be configured as a Local Signature. Follow these steps to configure a local signature.
Create a New Signature Configuration
Create a new email signature configuration document
Open the Crossware Email Signature configuration database (esig.nsf) in the Lotus Notes client. From the Signature Configuration view, click on the New Email Signature action button.
The signature configuration document will appear.
Populate the configuration document
Click on the Additional Options tab, set the Server Signatures setting to OFF.
This will disable the signature from being appended server-side.
Back on the Set Up tab, give the new configuration a Selection/Group Name (Since this is a local signature an address book group is not required).
Add a plain text description (optional).
Set up your signature in the Rich Text area (between the grey lines) and add your look-ups.
Close the document and select Save when prompted.
Create a Local Signatures "User Configuration"
From the navigator, open the view Local Signatures > User Configuration
Create a new configuration by clicking on the action New Config.
In the configuration document, enter a descriptive name in the Config Name field.
Give the configuration document a description (this is optional).
In the Signature To Use field, select the signature you created in Section 1.
In the Local Signature Type field, select the type of clients this configuration document will support.
There are 3 options:
i. Pre 8.5 Users - an email will be set to the user with a button they have to click. This will copy the generated HTML file to their PC and set up the iNotes signatures.
ii. Post 8.5 Users - The signature will be automatically applied to the user Calendar Profile when the esig task runs.
iii. Auto - the application will attempt to detect the type of client based on the template name used in their mail file.
Close the document and select Save when prompted.
Create your first user who will have a Local Signature
From the navigator open the view Local Signatures > Users Logs
Create a new user by clicking on the New User action bar button.
Select the user who this configuration applied to.
Select the configuration created in Section 2.
Close the document and select Save when prompted.
Example of signature to be copied to the user's profile document: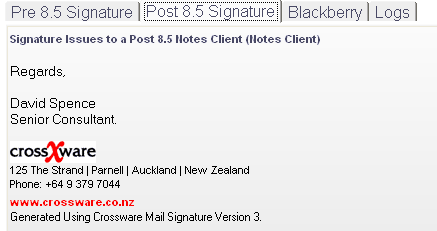
Push the signature to the new users
Open the User Log view and highlight the user in the view.
Click on the Generate User action button. A console command will be issued to the server.
Refresh the User Log view. Once the esig task has finished the view will be updated showing the status.
Check the new signature
Depending on the type of signature selected, Pre 8.5 or Post 8.5:
Pre 8.5 Signature
Check your inbox for an email - the esig task should have sent an email with a button.
Open the email and click the button, this will install the signature.
Create a new email and check the signature.
If you have the admin or designer client open, you may need to restart your notes client.
Post 8.5 Signature
The signature should have automatically been applied to your Calendar Profile, create a new email and check your signature.
If you have the admin or designer client open, you may need to restart your notes client.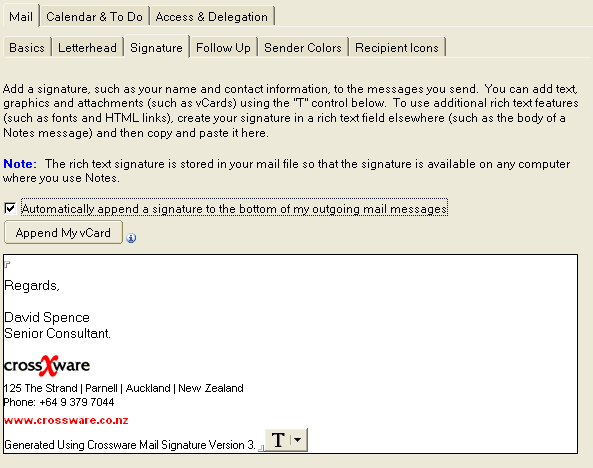
Automatic updates and New users
The esig task can automatically create new User Log documents for new group members and check for updates in signatures using a program document and a group from the address book.
Open the User Configuration document created in section 2.(In the view Local Signatures > User Configuration)
Select a group from the address book which contains the users which you want to have monitored signature changes.
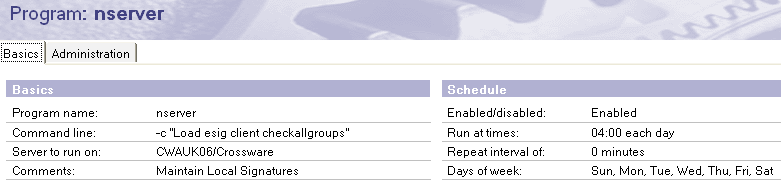
Create a program document to execute the esig task periodically for changes.(see screen shot on how to fill this out)