For customers who cannot access the embedded link:
1. Navigate to https://portal.crossware365.com/cms/designer/signatures

2. To create a signature from scratch, click on the green '+' icon.

3. If you wish to create a signature using a template, click on any other square in the carousel.

4. Action Buttons
SAVE - Save Signature Block configuration
CANCEL - Go out of this configuration
Send Test Email - Send a test email (available once you save your configuration)
Preview Signature - View how your signature will appear when sent.
If you are using signature blocks and you specify selection as 'external users' ensure you enter in an external user in the 'To:' field which will show the external information here.
Name
This is a mandatory text field used to add a name to the signature design. By choosing a suitable name, it becomes easier for you to differentiate between the different signature designs.
Description
This is a free text field that can be used to add notes or provide a brief description of this signature design.
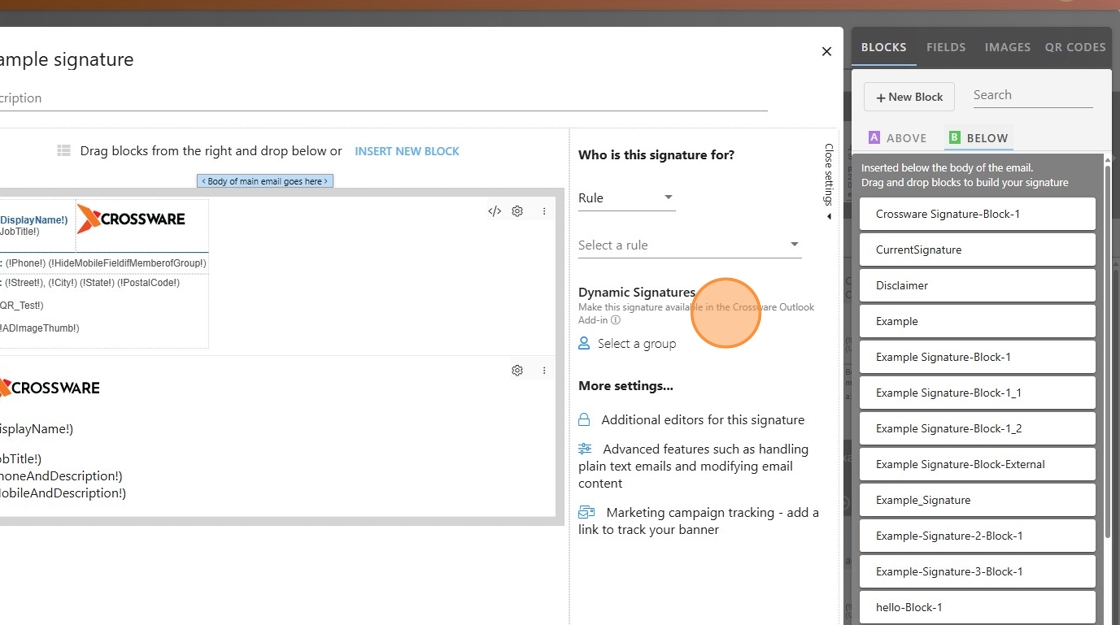
Who is this signature for?
Selecting the Group drop-down will present you with 3 options:
Unassigned - Signature won't be assigned to anyone.
Group - Signature will be assigned to a group.
Clicking on Select a group will present you with the groups you've created.

5. Rule - Signature will be assigned to users that meet the conditions of the rule.
A rule is a "C# Script". If the rule returns "true" then the signature configuration will be applied.
Clicking on Select a rule lets you select a rule you'd like applied to the signature (Configuration for rules can be found in the Rules tab that sits in the menu panel on the left side of the designer).

6. You can also make the signature available to selected users or groups in the Outlook client.

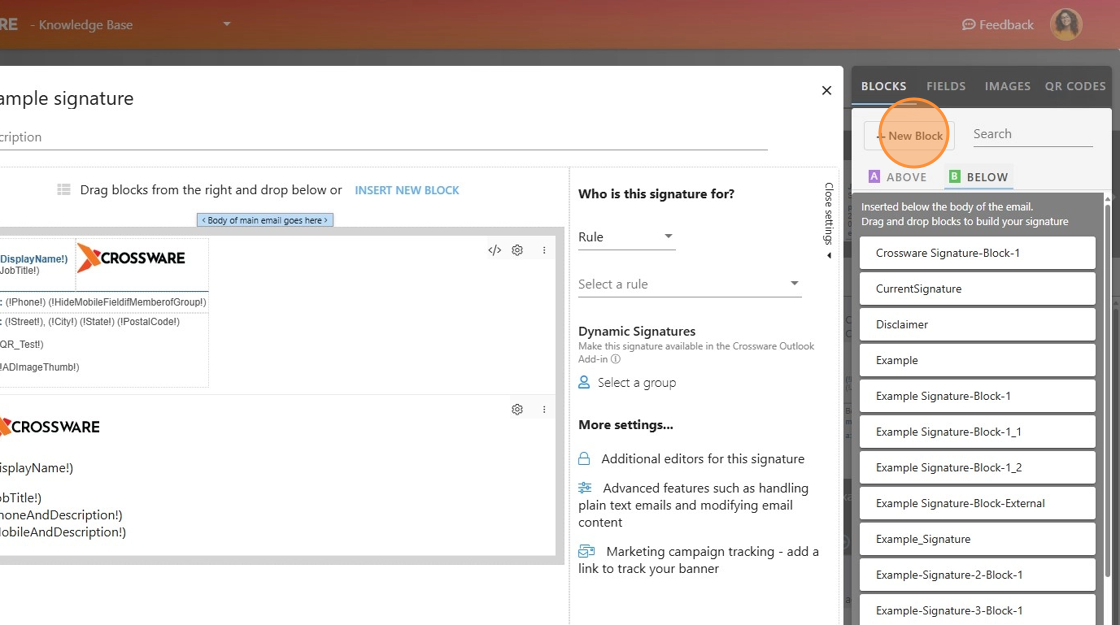
7. BLOCKS
You can insert signature blocks into your signature be selecting blocks from any of the following tabs in the right panel:
ABOVE - Above blocks are inserted at the top of the email, above the body content.
BELOW - Below blocks are inserted at the end of the body in the current email, above any replies.
Insert the blocks by clicking on the arrow on the left of the signature block name (Hover your mouse over the block name to make the arrow appear) or by drag and dropping the block.

8. The alternative is to create a new block inline by clicking on the '+ New Block' button.
For more information on signature blocks, click here.

9. HTML Code
If you wanted the option of editing the HTML of your signature, click on the highlighted button and it should present you with the HTML code beneath your signature and you should be able to edit it.

10. FIELDS
Drag and Drop items
These fields can extract information from any of the following:
- Windows Azure Active Directory (WAAD) - for CMS M365
- Active Directory (AD) - for CMS MSE
- Google Workspace Directory - for CMS GWS
- A custom C# script
You can drag and drop various types of fields into your signature:
- DIRECTORY - User details extracted from their Active Directory.
- FORMULA - C# scripts.
- IMAGE - Images saved in your image library.

11. You can always add a field inline if you need to. For more information on fields click here.

12. IMAGES
Add images to your signature by drag or dropping images from your image library.
You can upload images into your image library by clicking on 'Manage images' and then clicking on 'Upload image'.

13. IMAGES
Add images to your signature by drag or dropping images from your image library.
You can upload images into your image library by clicking on 'Manage images' and then clicking on 'Upload image'.


