


For customers who cannot access the embedded link:
- One option would be to fill in this Google Workspace Free Trial Form
- Alternatively, you can also email our support team at support@crossware365.com with the following details.
- Google Customer ID
Go to admin.google.com > Go to Account > Account Settings
You should see your Customer ID in the Profile pane - Company Name (e.g. Crossware Limited)
- Primary Domain (e.g. crosswaredemo.com)
- Admin Email (preferably your Super Admin's email e.g. admin@crosswaredemo.com)
Once you've sent this information, please await confirmation from our support team before proceeding with the next steps
1. Navigate to admin.google.com
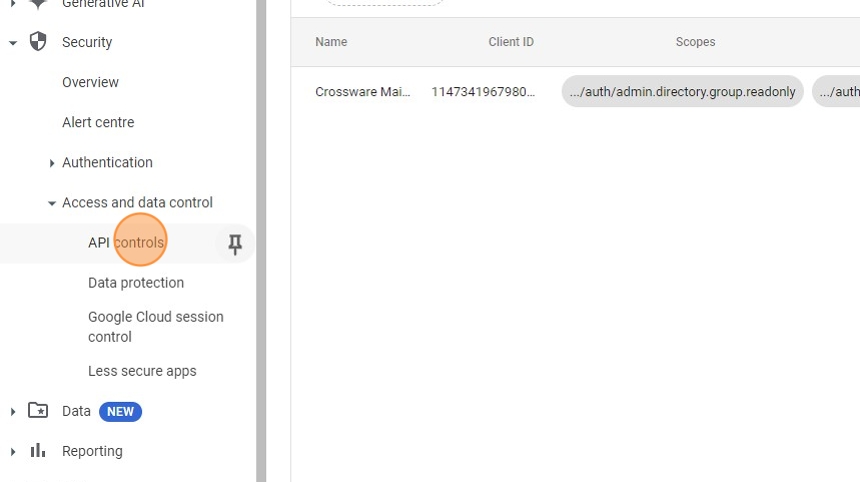
2. Click the Security drop-down option

3. Click Access and data control
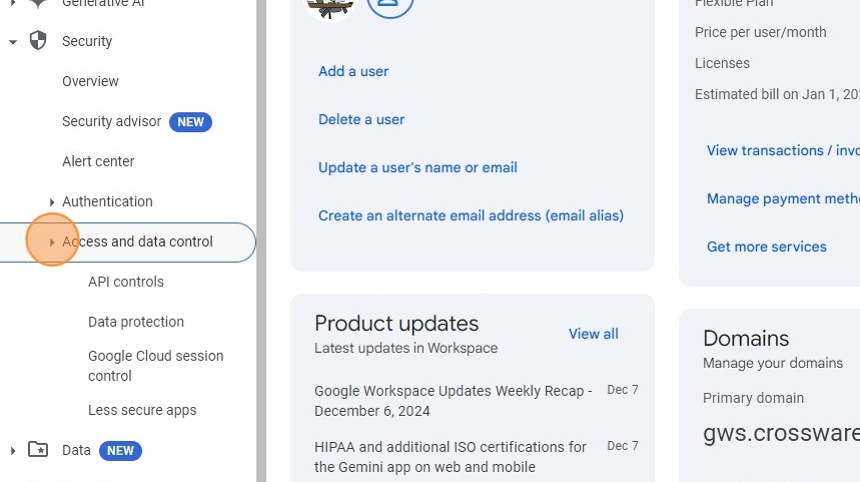
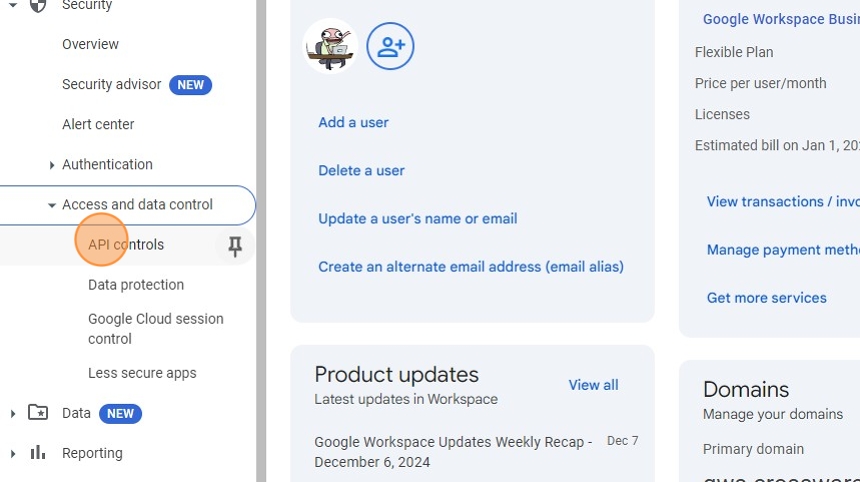
4. Select API controls
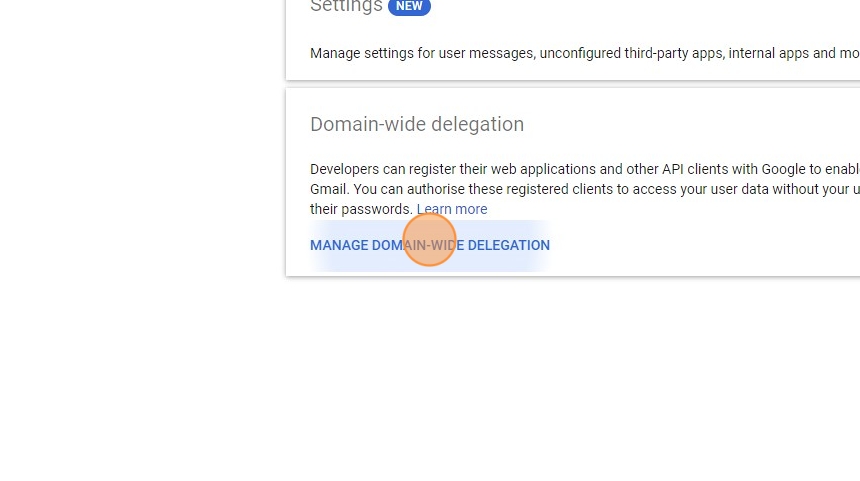
5. Click MANAGE DOMAIN-WIDE DELEGATION
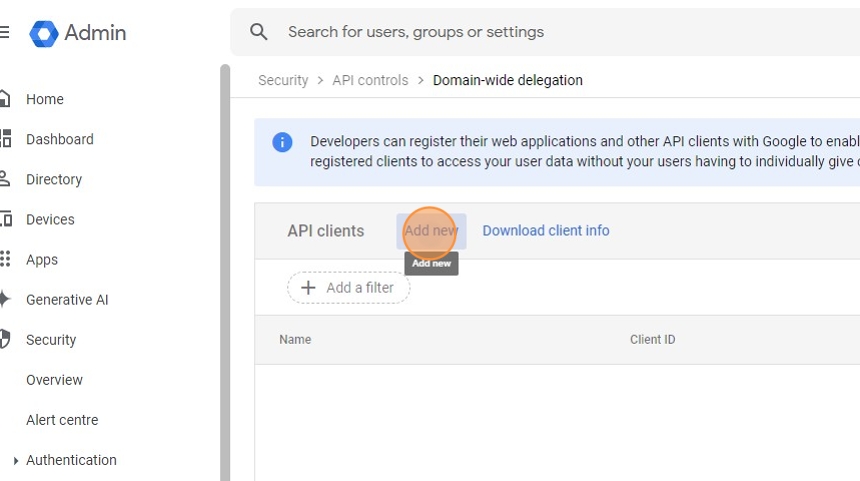
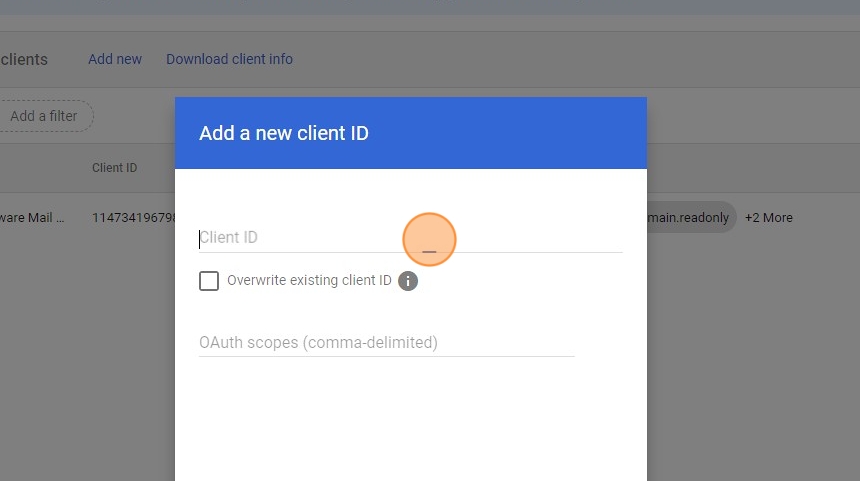
6. Click Add new
8. Click this text field > Insert Crossware's client ID
Client ID: 114734196798062831722
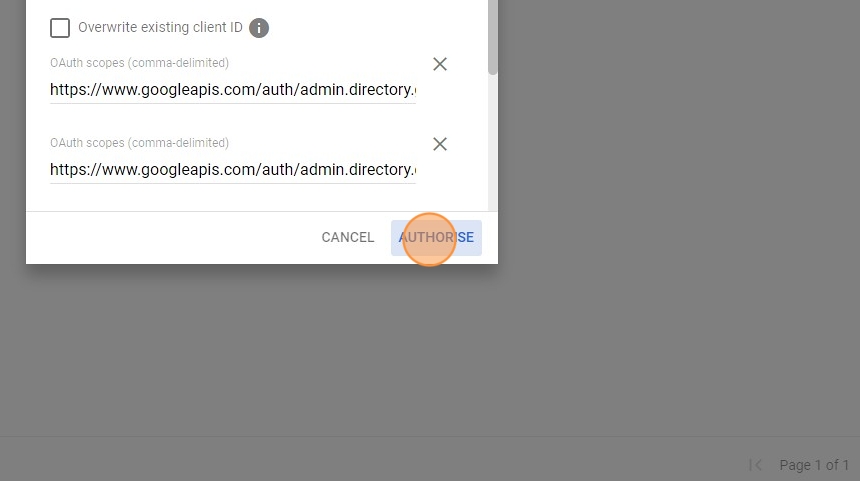
9. Click this text field > Add the following scopes
Scopes:
https://www.googleapis.com/auth/admin.directory.group.readonly
https://www.googleapis.com/auth/admin.directory.domain.readonly
https://www.googleapis.com/auth/admin.directory.user.readonly
https://www.googleapis.com/auth/admin.directory.customer.readonly
10. Click AUTHORISE
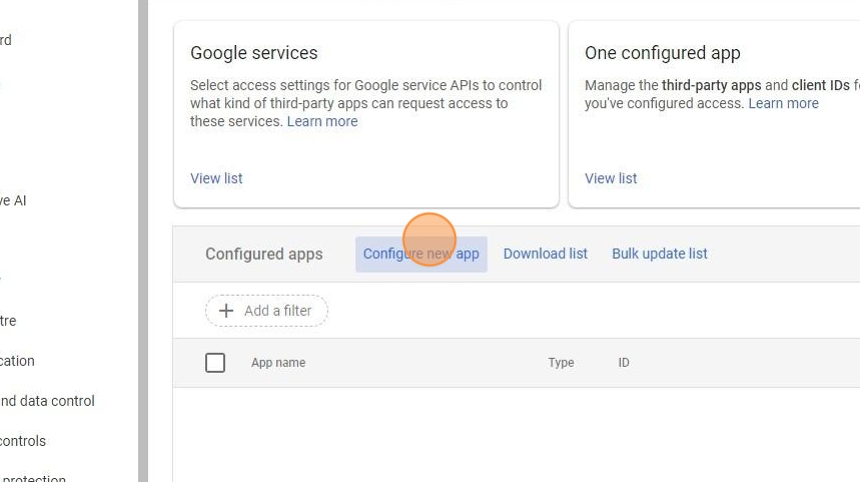
11. Re-visit the API controls option
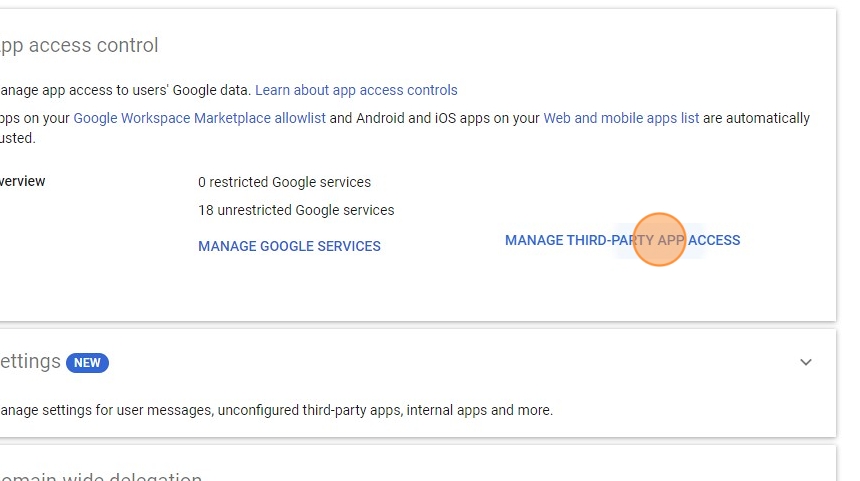
12. Click MANAGE THIRD-PARTY APP ACCESS
13. Click Configure new app
14. Click the "search" field > Paste in the client ID below into the text box
Client ID: 928646364906-vjarqcqr254p29bs28n24e5fjabivvev.apps.googleusercontent.com
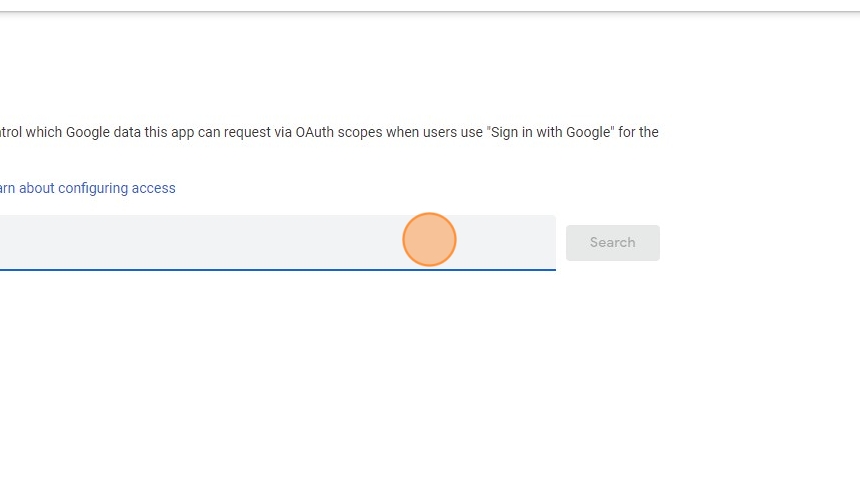
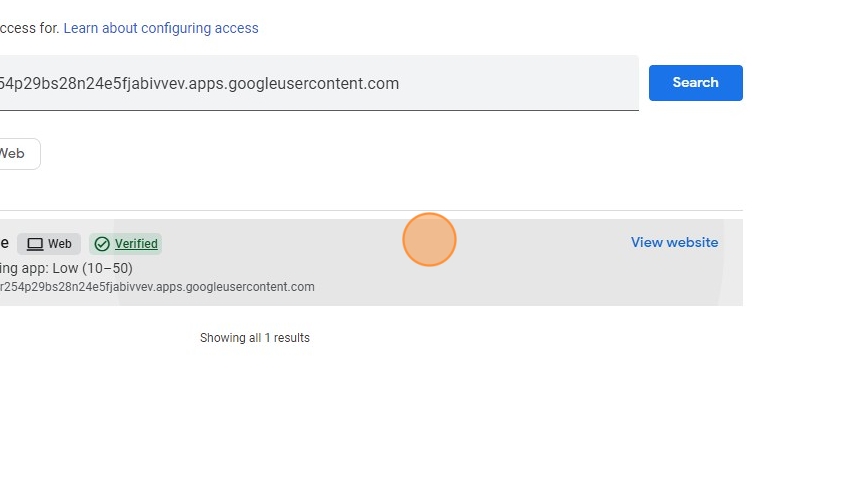
15. Click Search

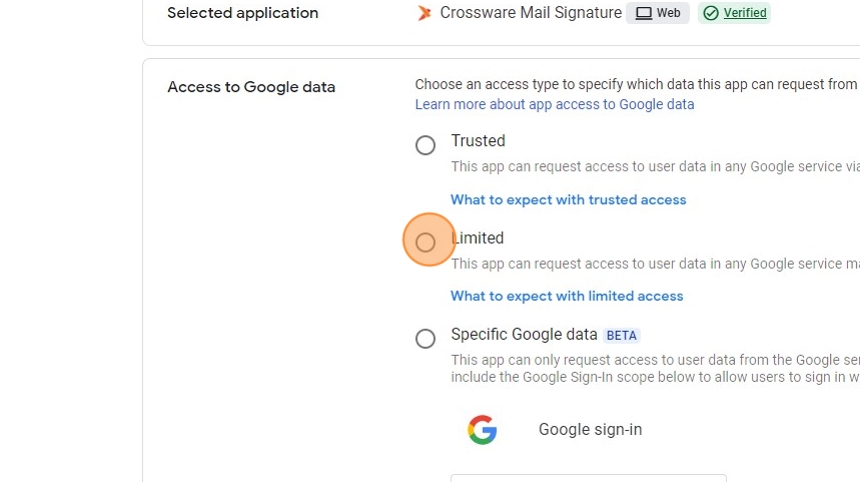
16. Select Crossware Mail Signature
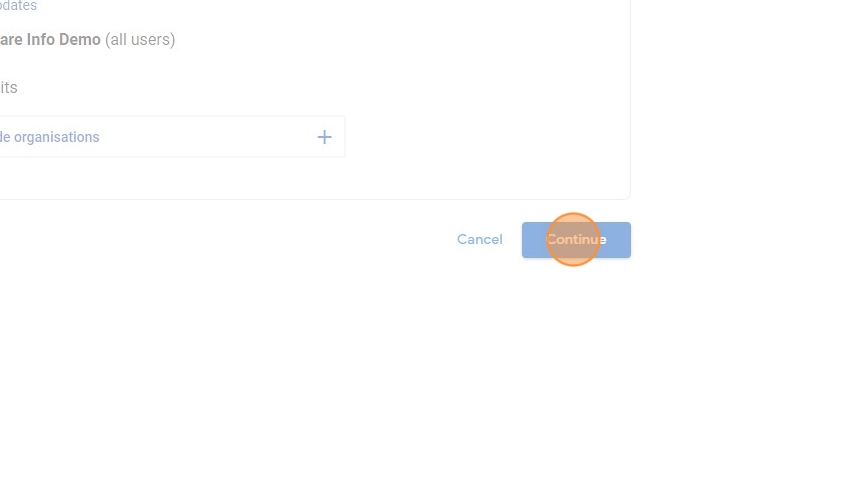
17. Select the option relevant to your request

18. Click Continue
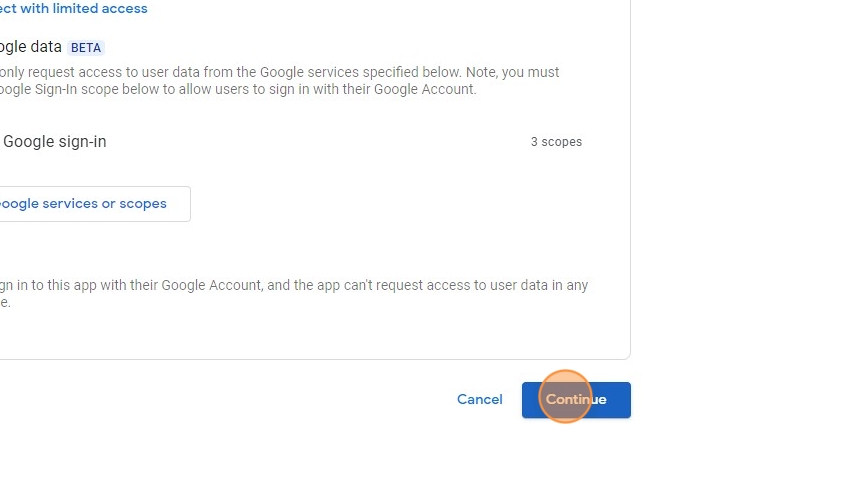
19. Select Limited
20. Click Continue
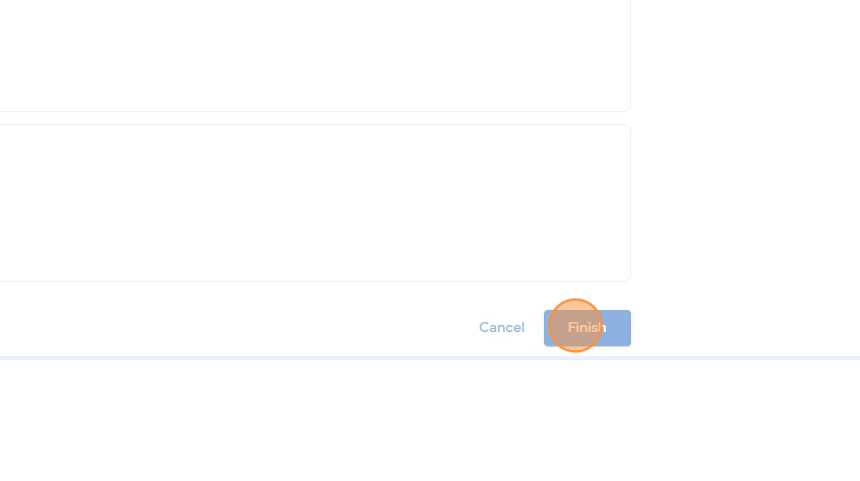
21. Click Finish
22. Select the Directory drop-down option
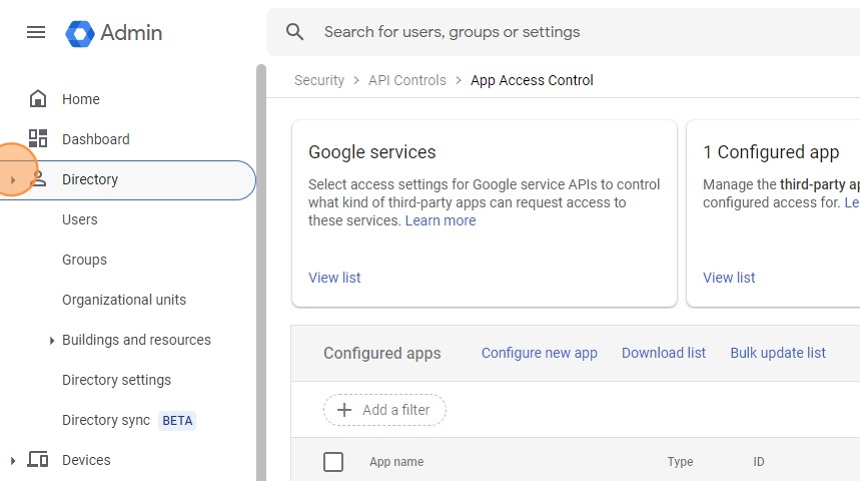
23. Click Groups
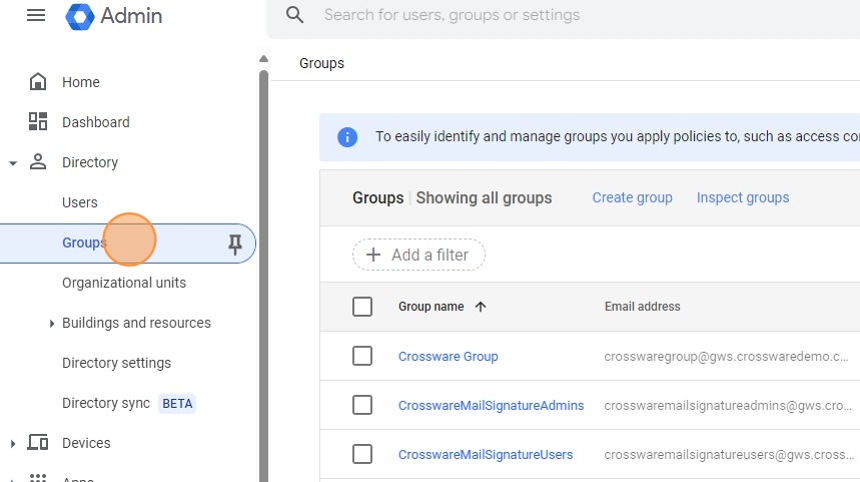
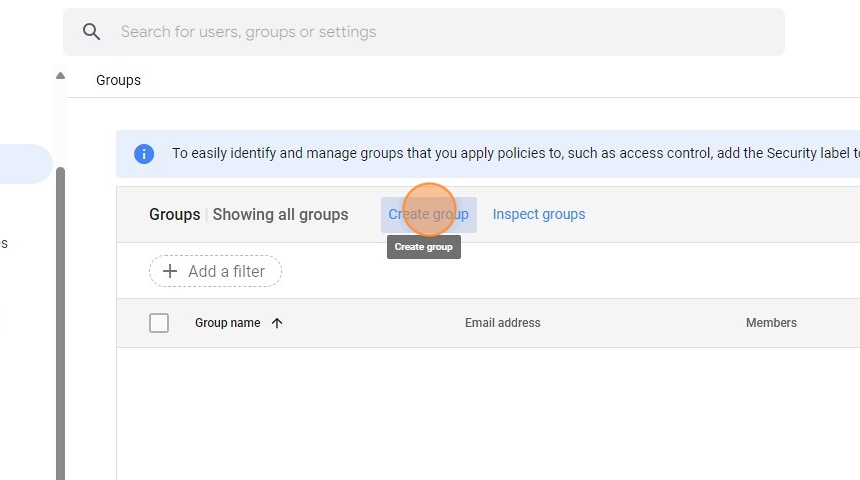
24. Click Create group
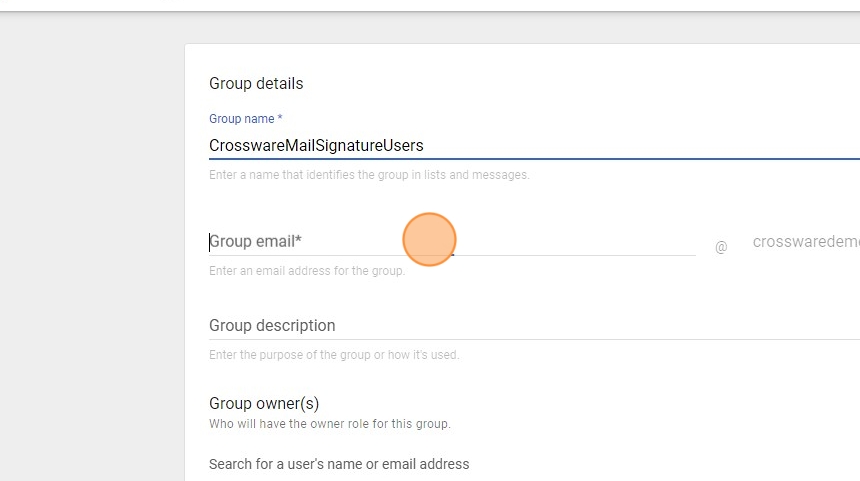
25. Click this text field Type "CrosswareMailSignatureUsers"
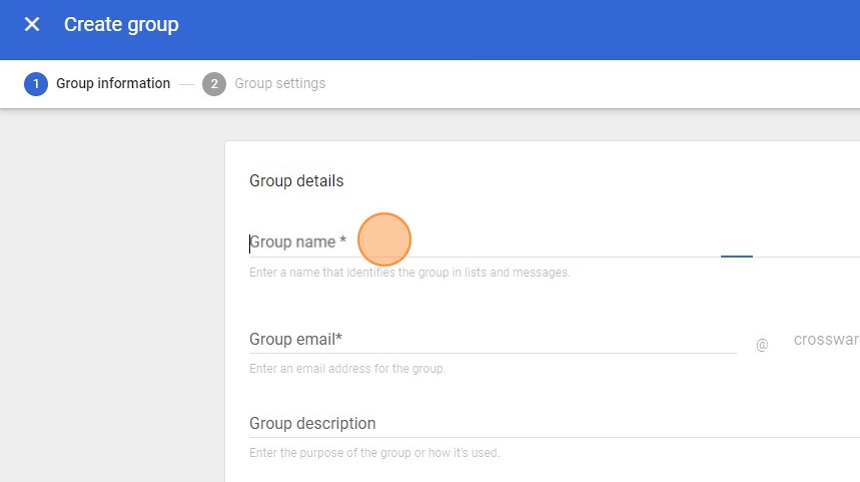
26. Click this text field > Type in an email address for your group
27. Click this text field > Give your group a description
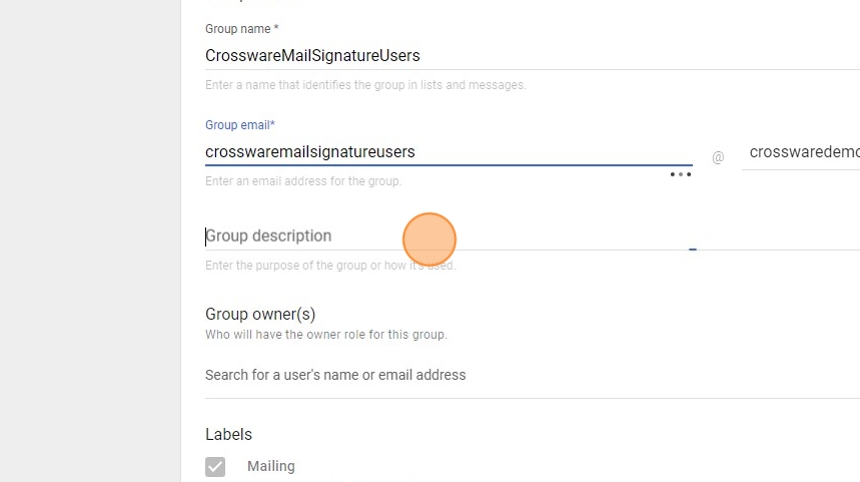
28. Click this text field > Select an admin (preferably your Super Admin)

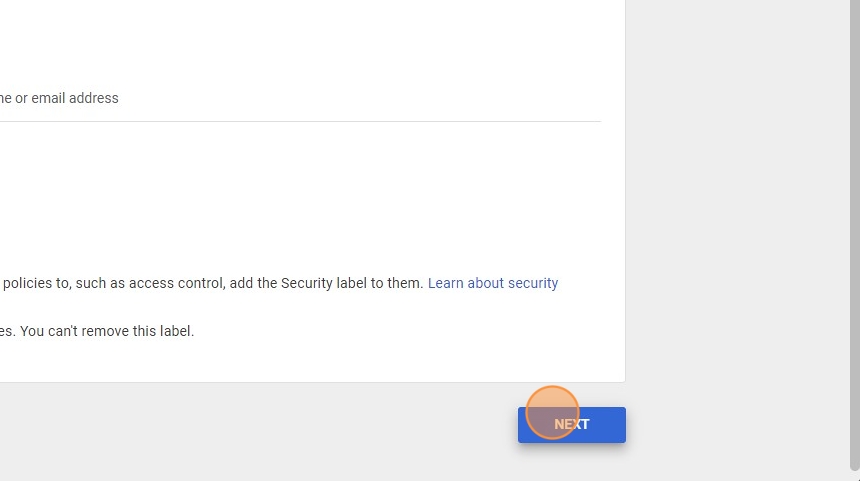
29. Click Next
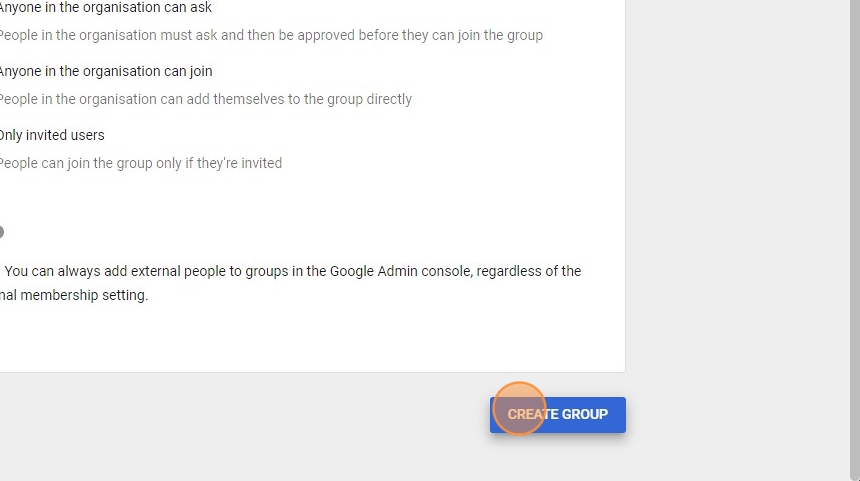
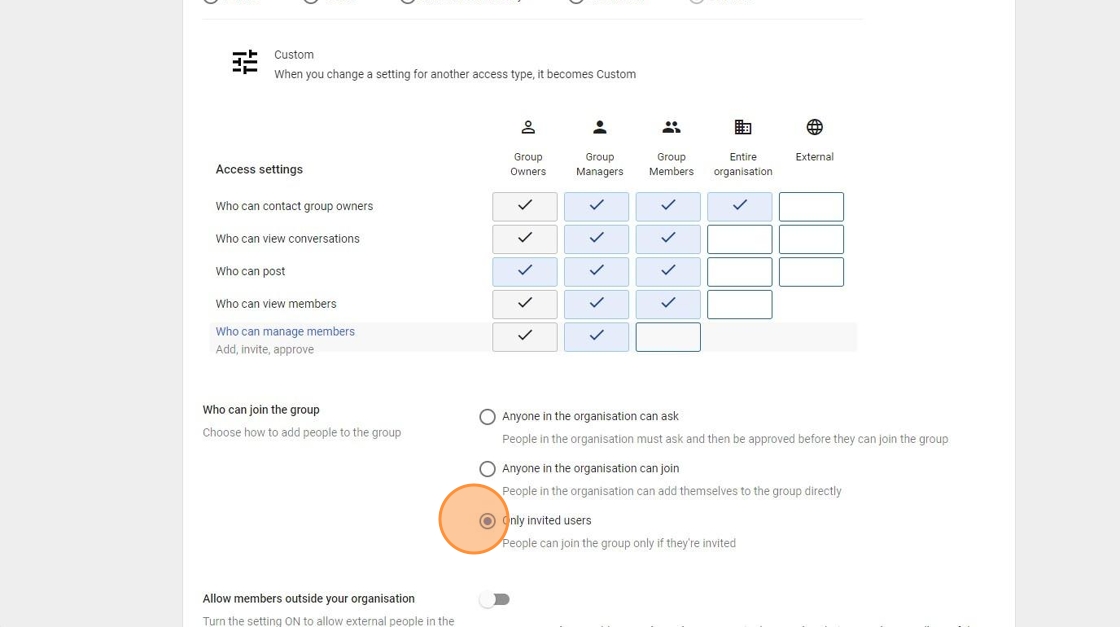
30. Select the boxes as shown in the image below
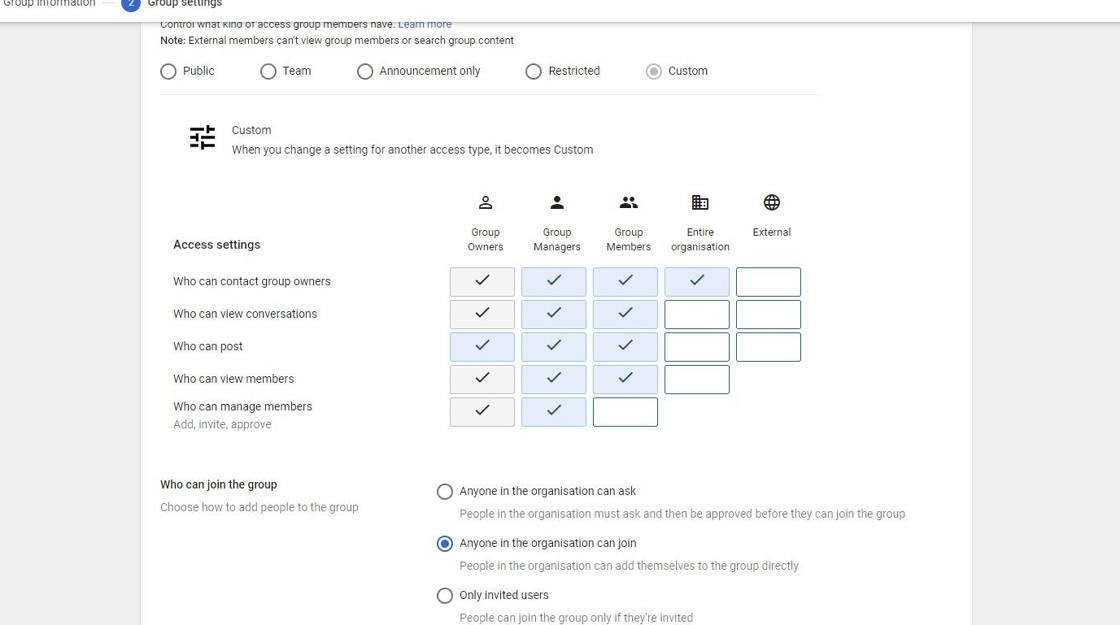
31. Select Only invited users
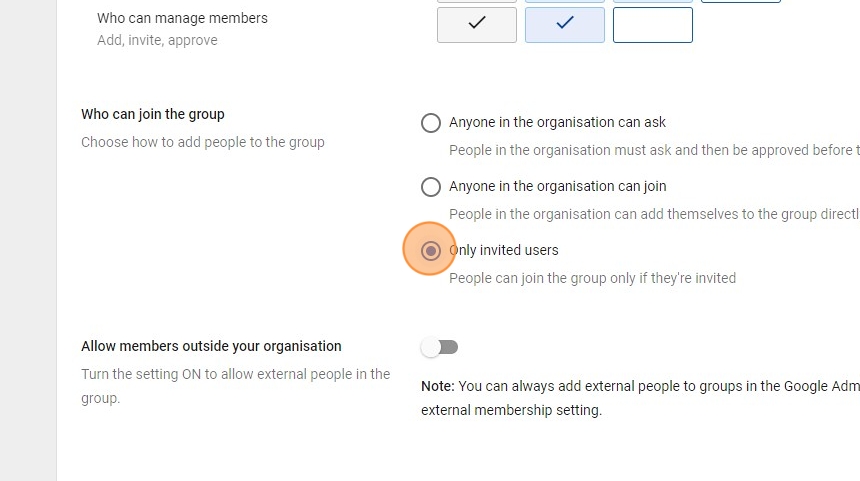
32. Click CREATE GROUP
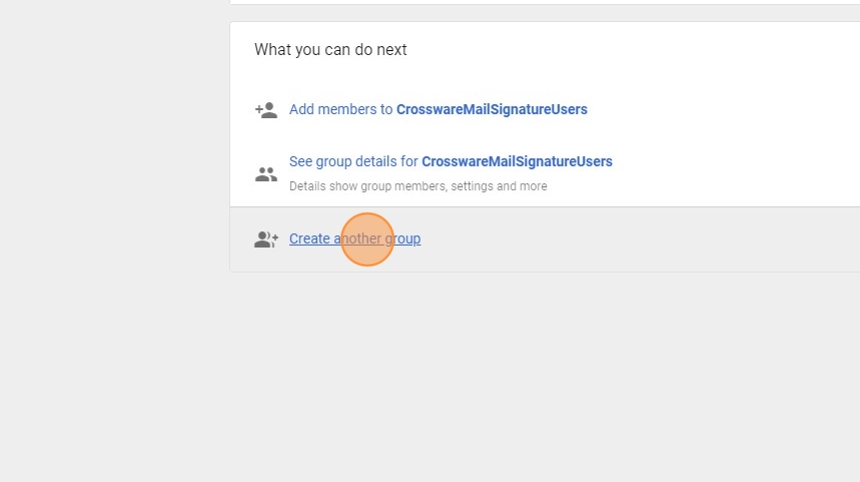
33. Click Create another group
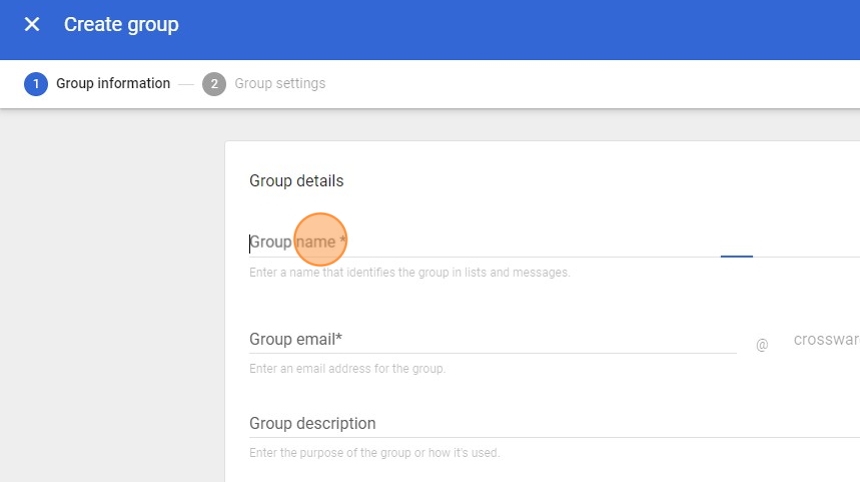
34. Click this text field > Type "CrosswareMailSignatureAdmins"
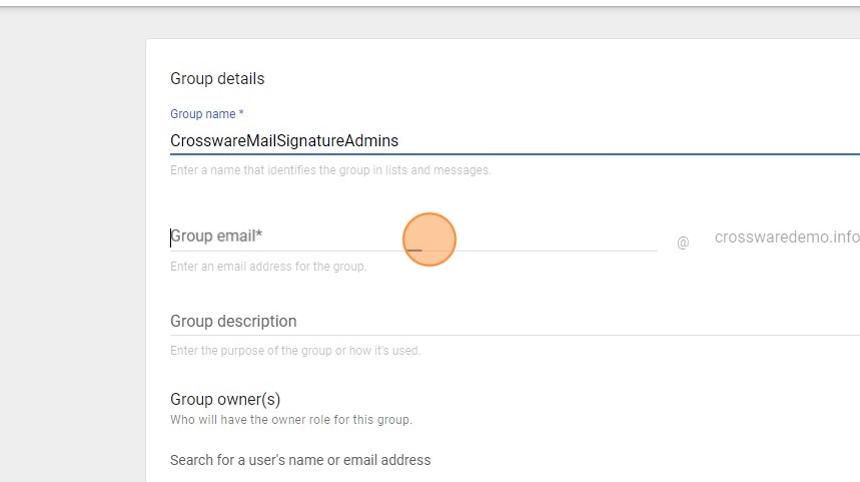
35. Click this text field > Type in an email address for your group
36. Click this text field > Give your group a description
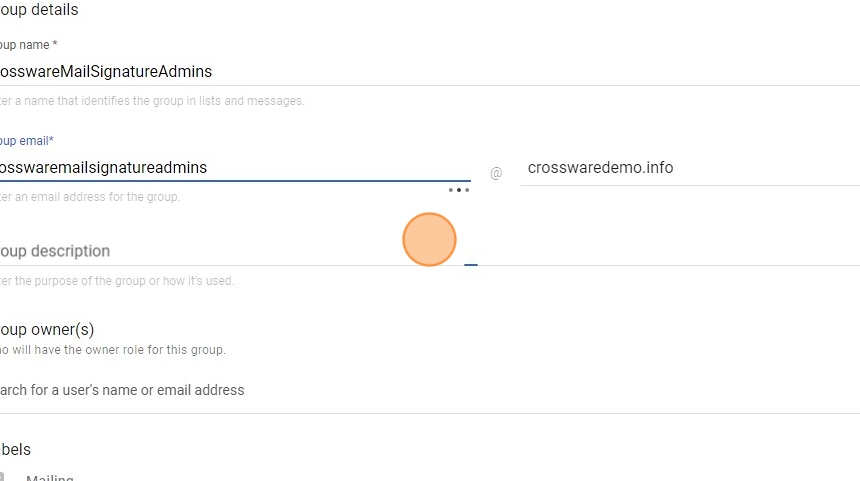
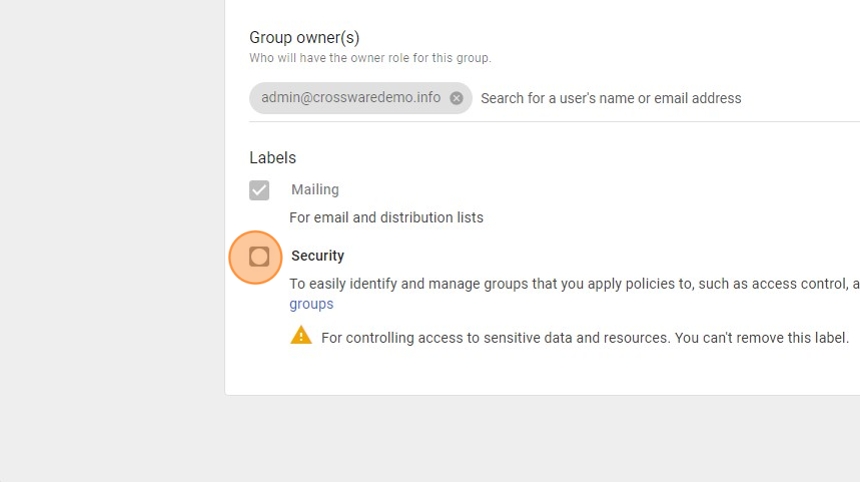
37. Assign a group owner (preferably your Super Admin)

38. Select the Security option
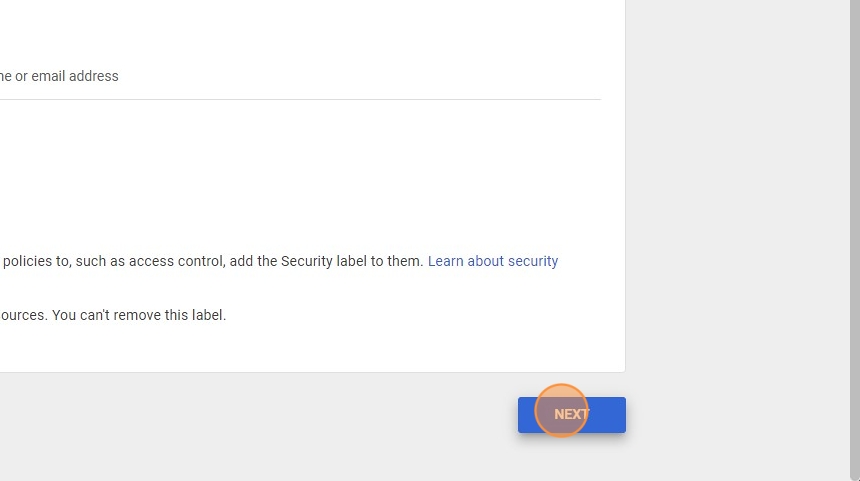
39. Click NEXT
40. Select Only invited users
41. Click CREATE GROUP

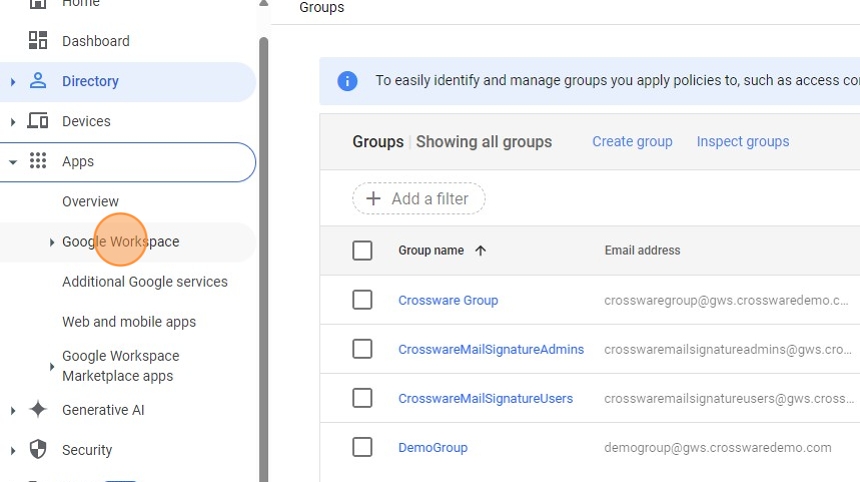
42. Click the Apps drop-down option
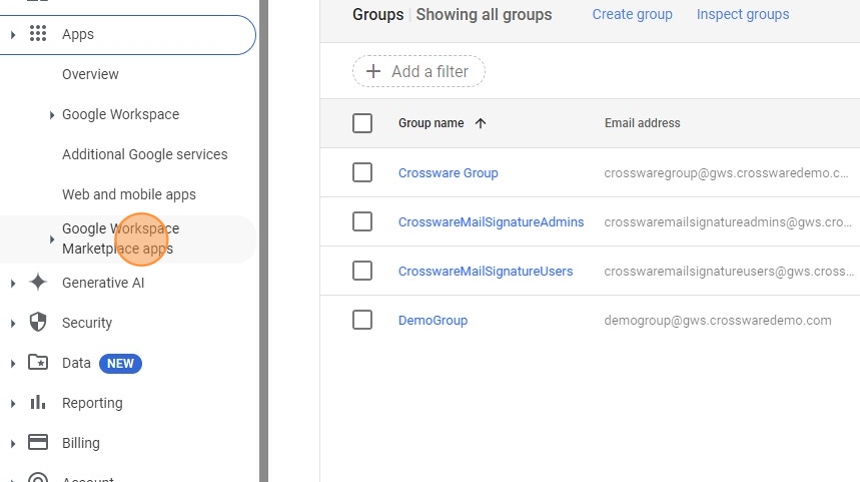
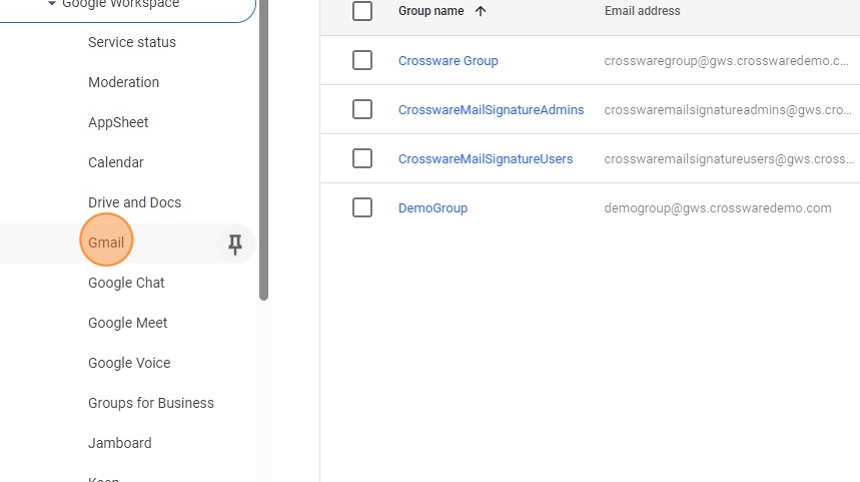
43. Click the Google Workspace drop-down option
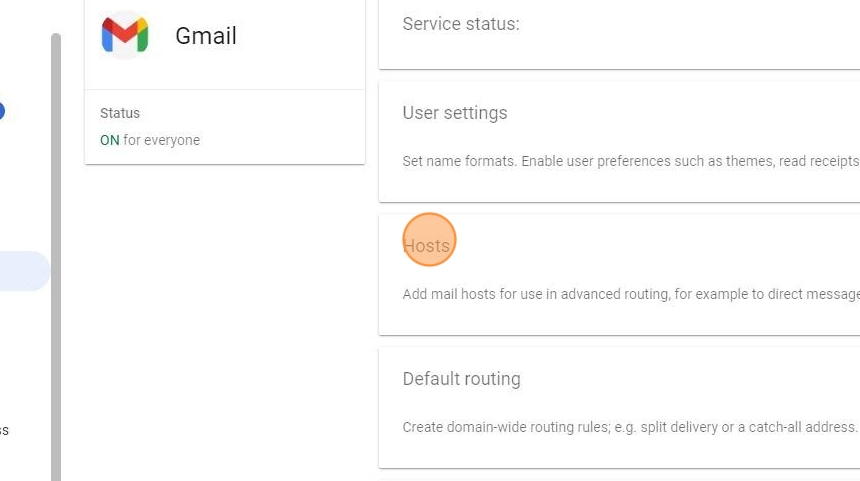
44. Select Gmail
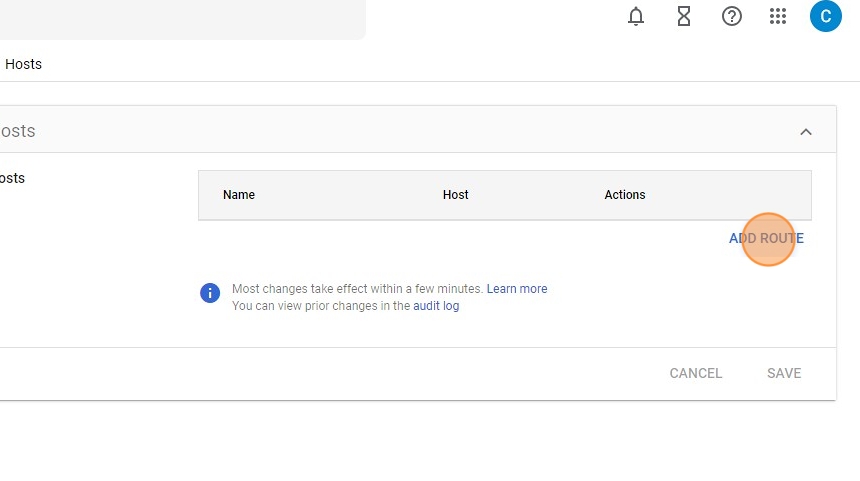
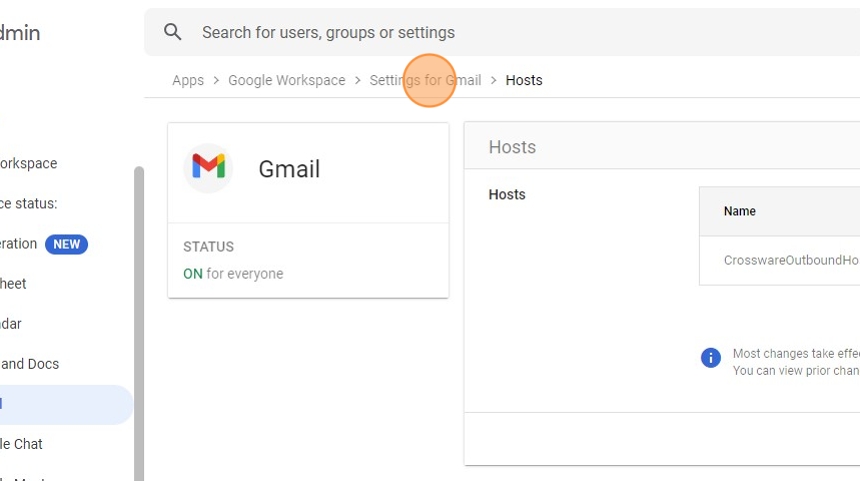
45. Click Hosts
46. Click ADD ROUTE
47. Click the text field > Type "CrosswareOutboundHost"
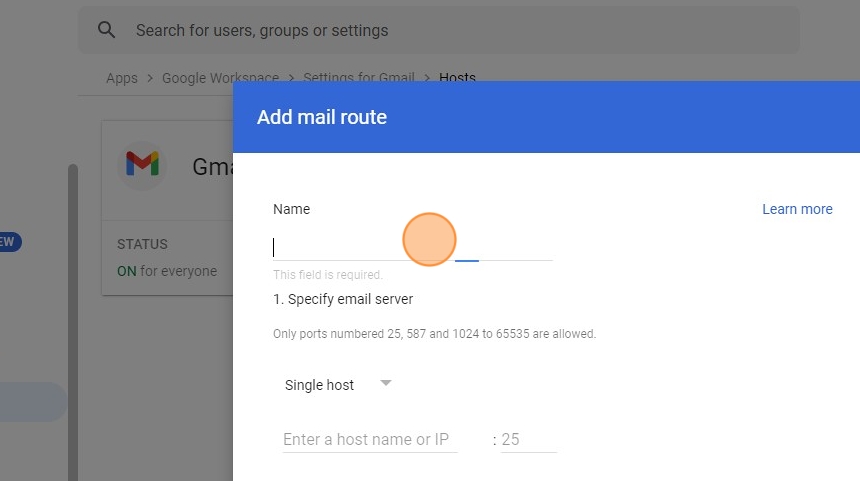
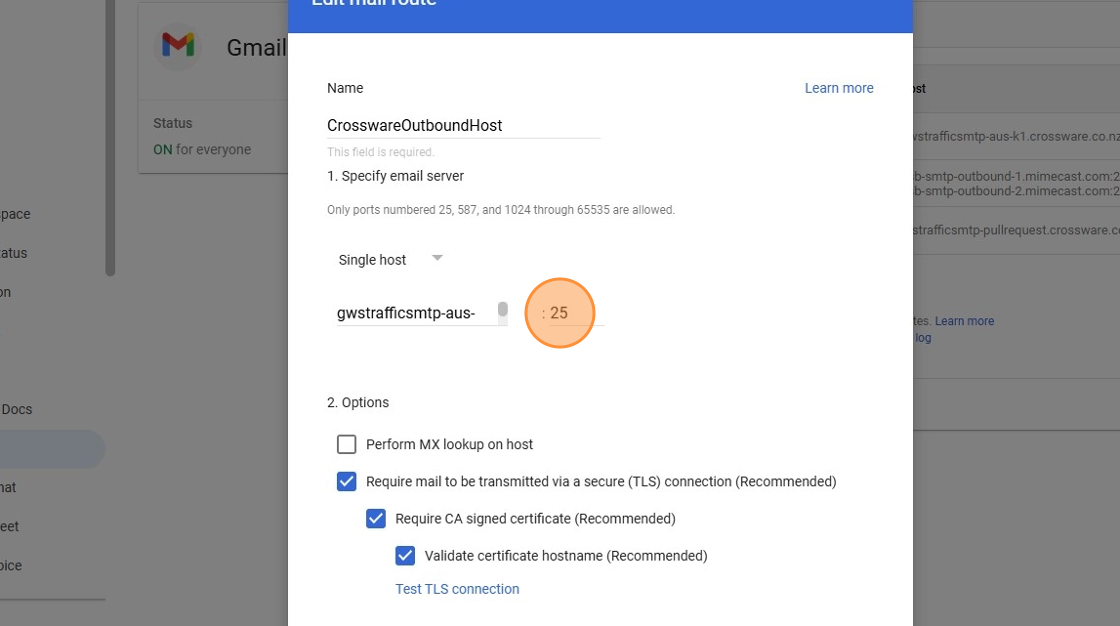
48. Click the host name text field > Enter the smart host relevant to your region:
Australia: gwstrafficsmtp-aus-k1.crossware.co.nz
49. Enter "25" into the port
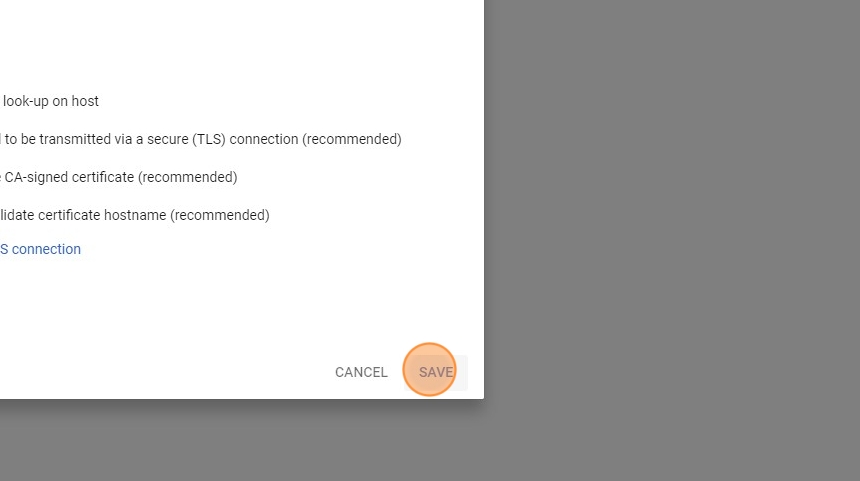
50. Select Perform MX look-up on host
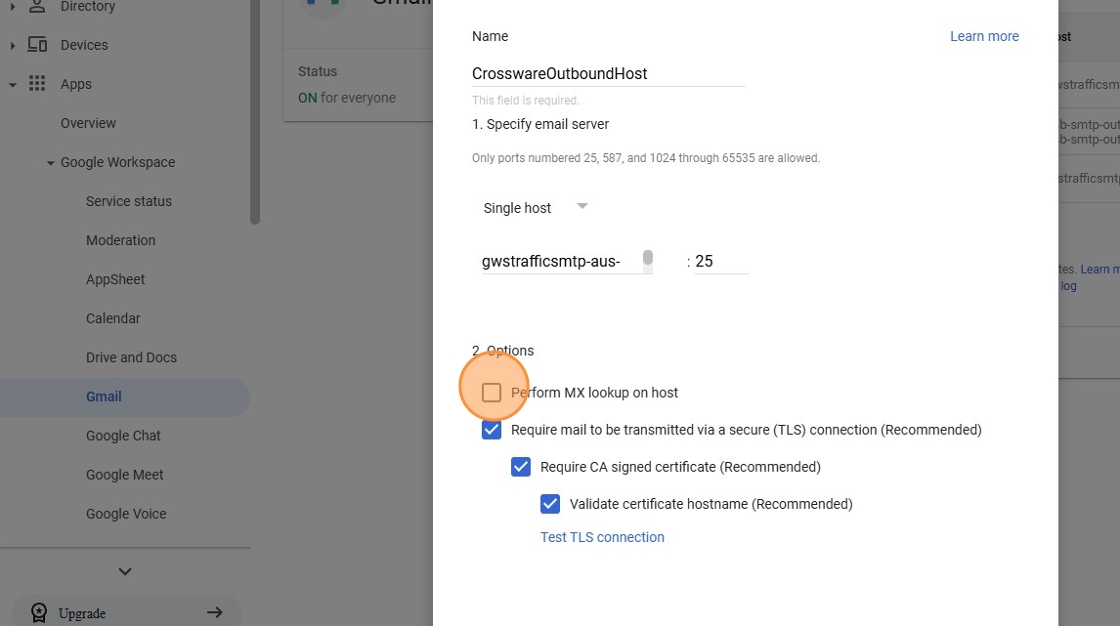
51. Click SAVE
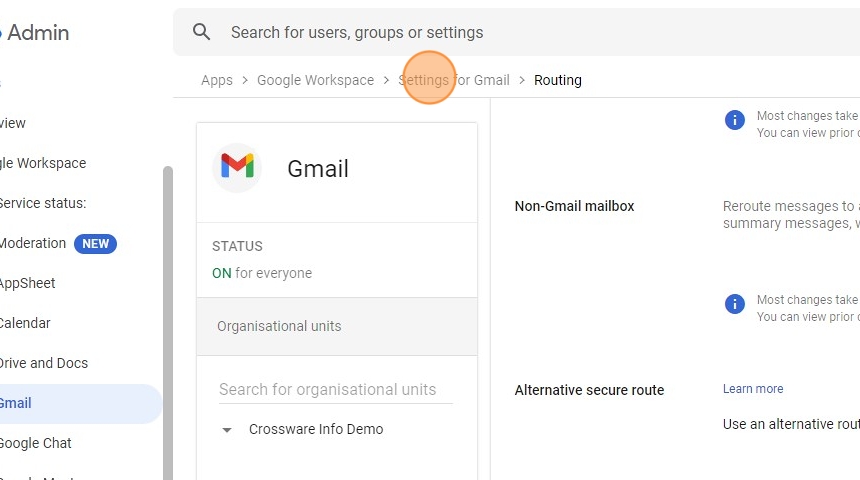
52. Re-visit the Settings for Gmail page
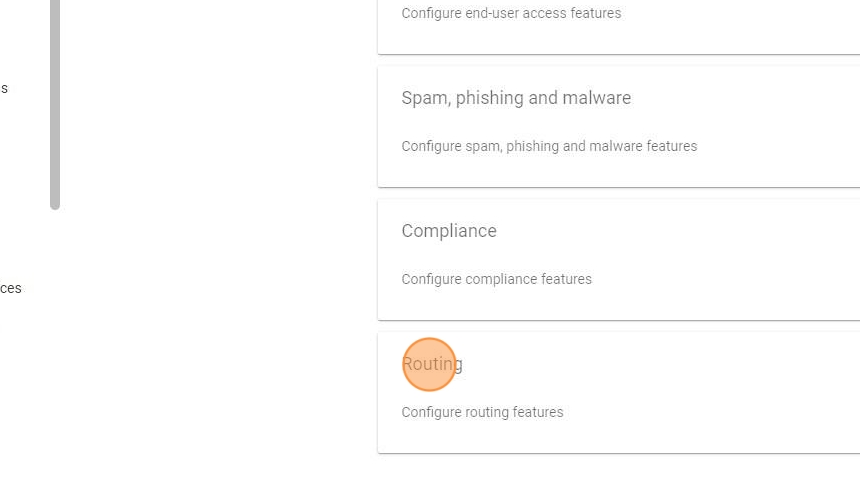
53. Click Routing
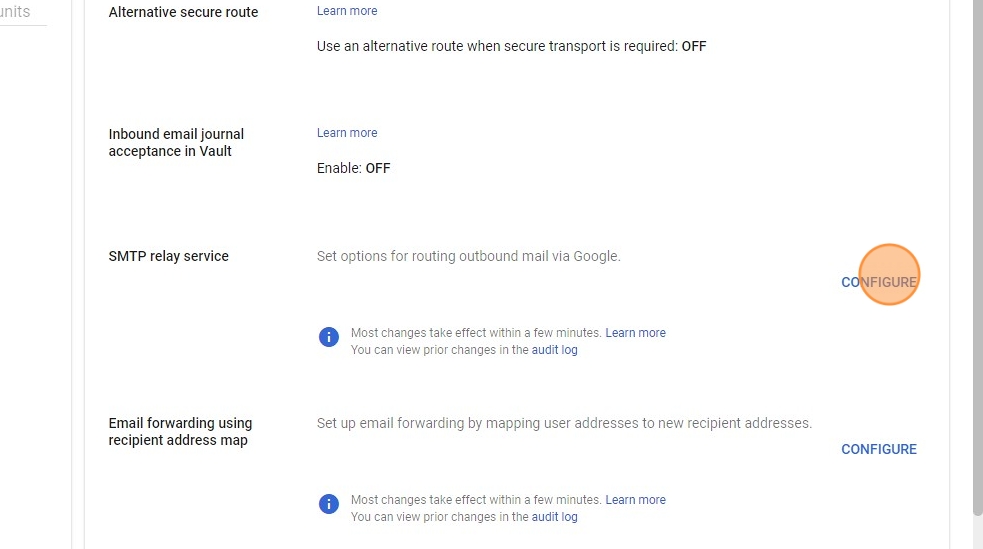
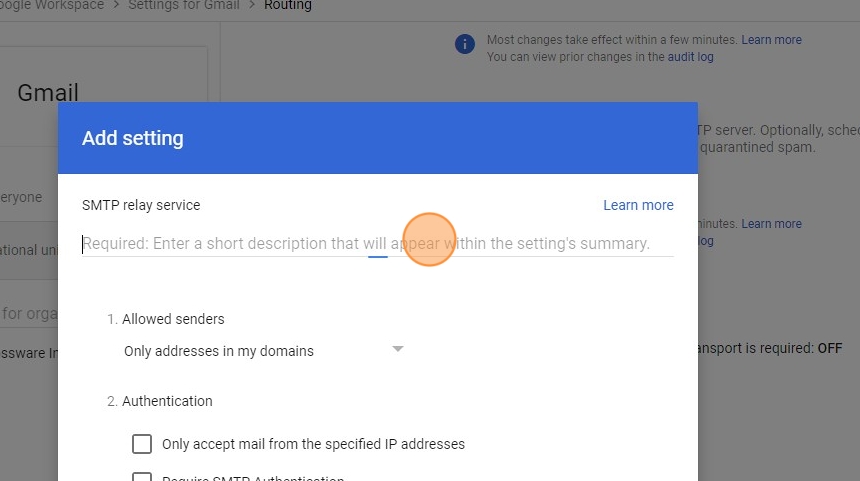
54. In the SMTP relay service section, Click CONFIGURE
55. Click the text field > Type "CrosswareInboundConnector"
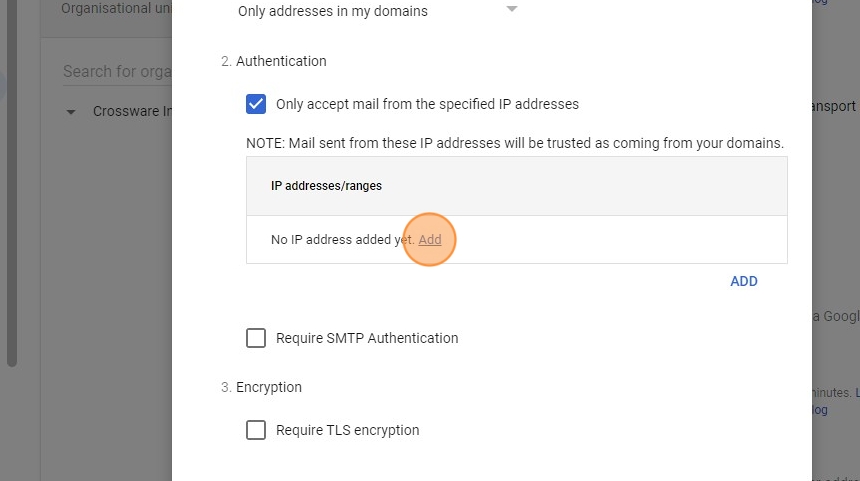
56. Under the IP addresses/ranges section, click Add
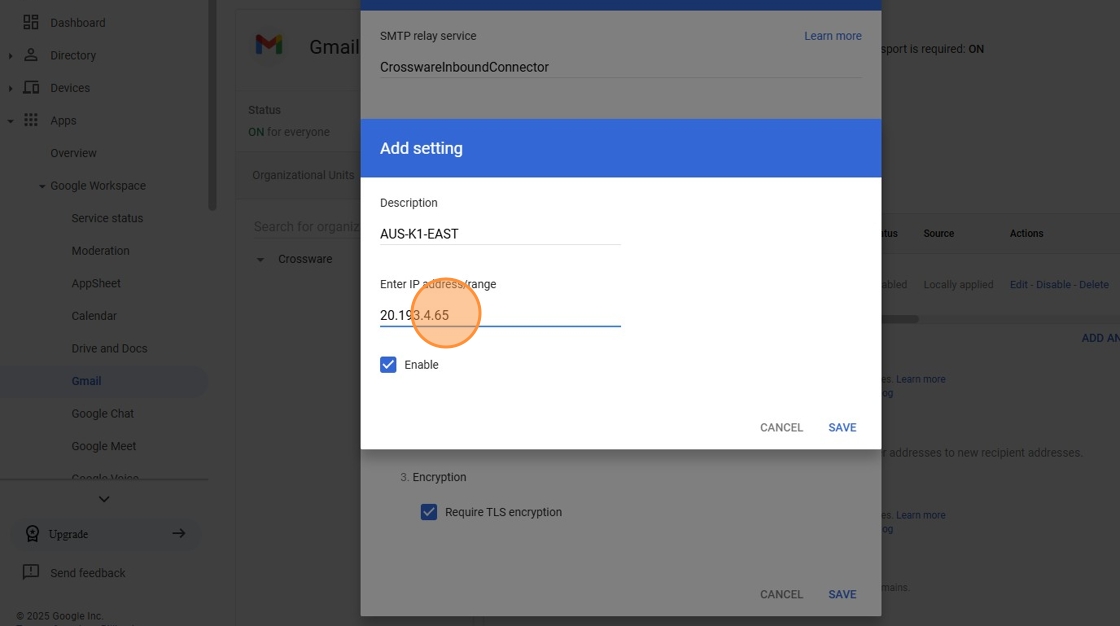
57. Click this text field > Enter the following IP address(s) relevant to your region - Note you will need to add both IPs from your region:
AUS-K1-EAST: 20.193.4.65
AUS-K1-SOUTHEAST: 20.40.171.166
CAN-K1-CENTRAL: 20.116.146.80
CAN-K1-EAST: 52.229.72.77
US-K1-EAST: 52.190.40.209
US-K1-WEST: 20.184.240.123
FRANCEProd-CENTRAL: 51.138.217.108
FRANCEProd-SOUTH: 52.136.153.121
EU-K2-NORTH: 20.105.73.92
EU-K2-WEST: 20.126.196.163
UAE-K1-NORTH1: 40.123.229.48
UAE-K1-NORTH2: 20.203.119.149
QAT-K1-CENTRAL1: 20.21.234.240
QAT-K1-CENTRAL2: 20.21.224.39
IND-K1-CENTRAL: 135.235.229.184
58. Click SAVE
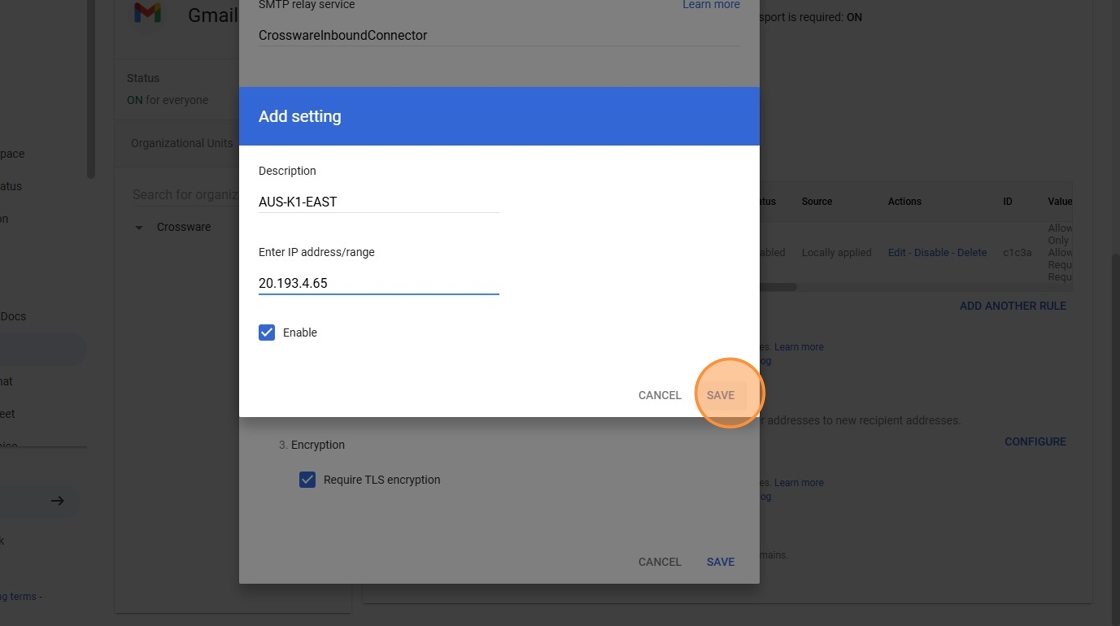
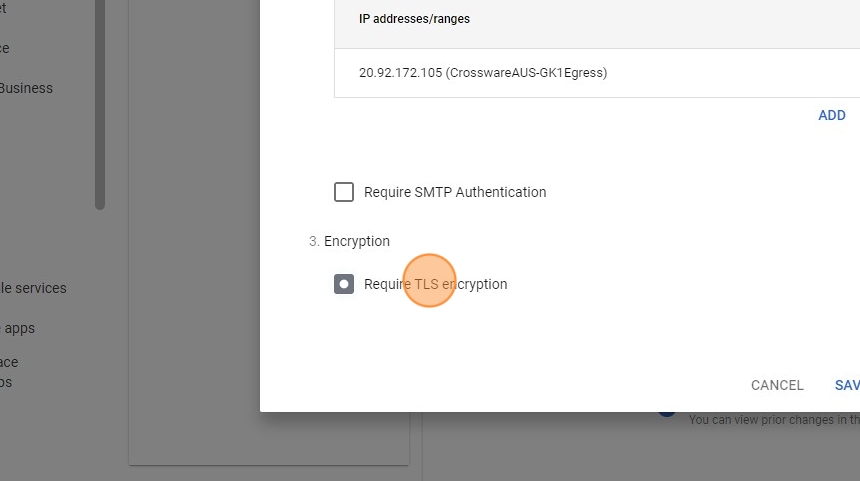
59. Select Require TLS encryption
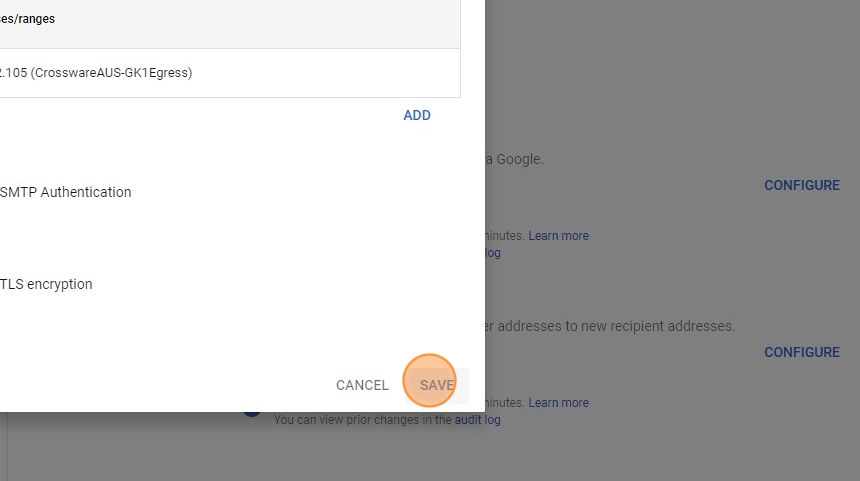
60. Click SAVE
61. Re-visit the Settings for Gmail page
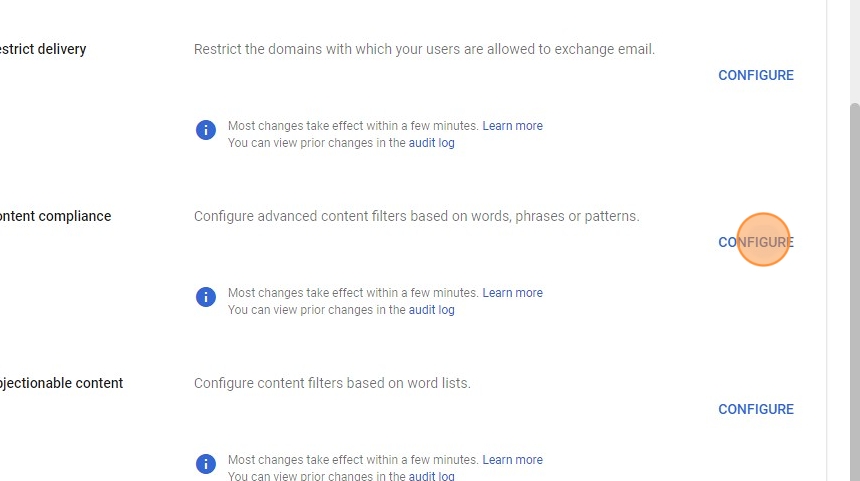
62. Click Compliance
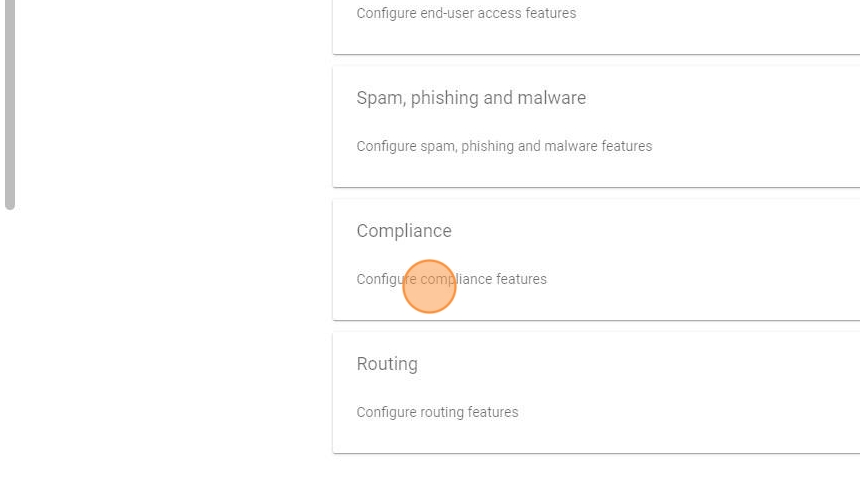
63. Click CONFIGURE
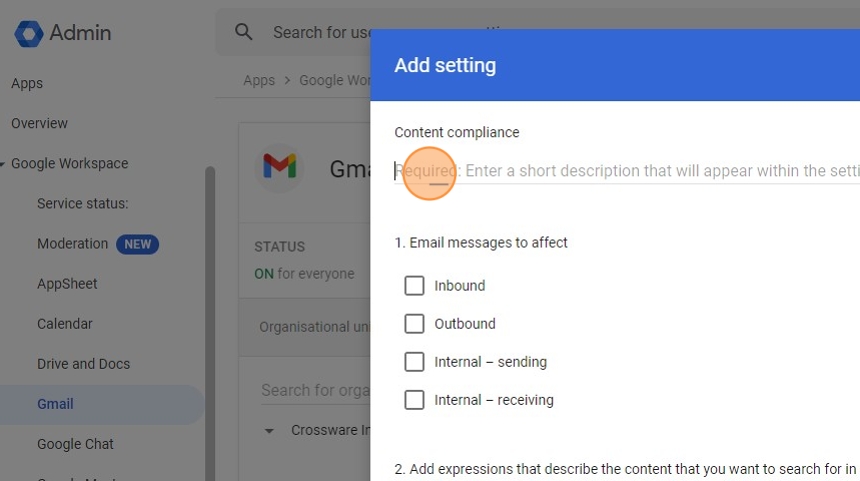
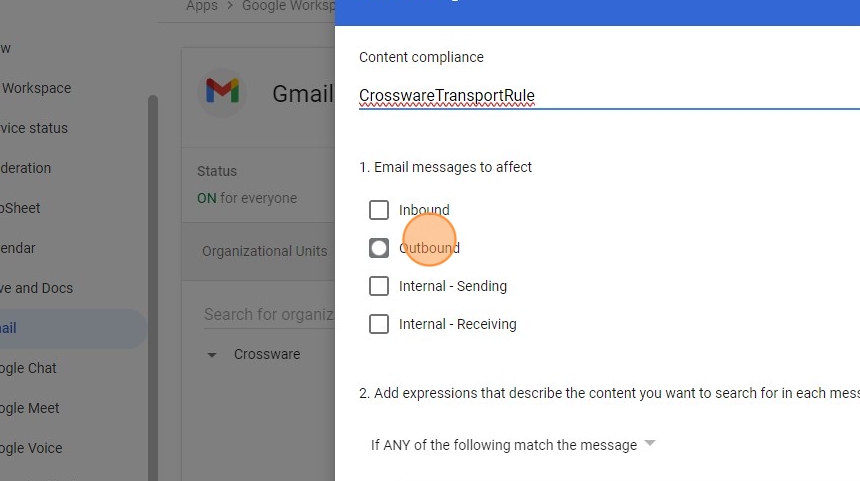
64. Click the text field > Type "CrosswareTransportRule"
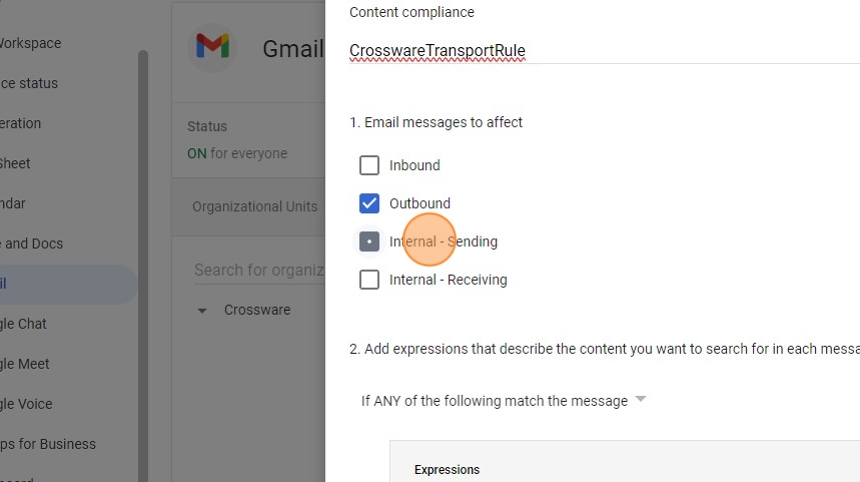
65. Click Outbound
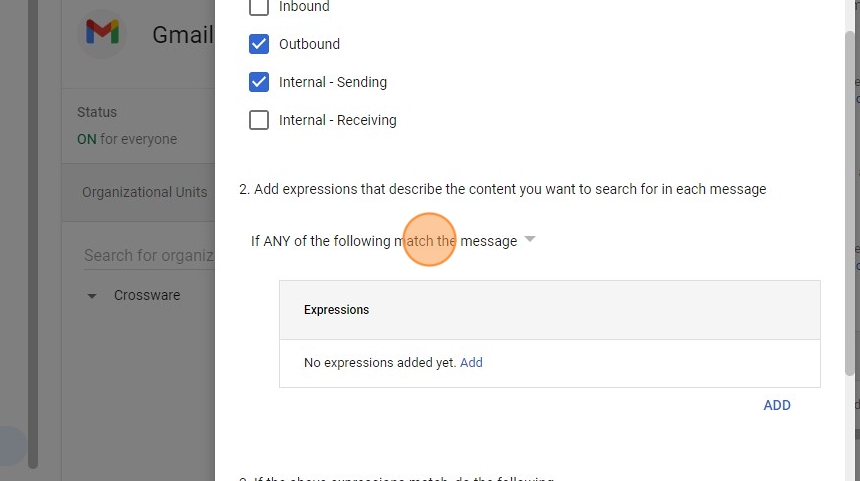
66. Click Internal - Sending
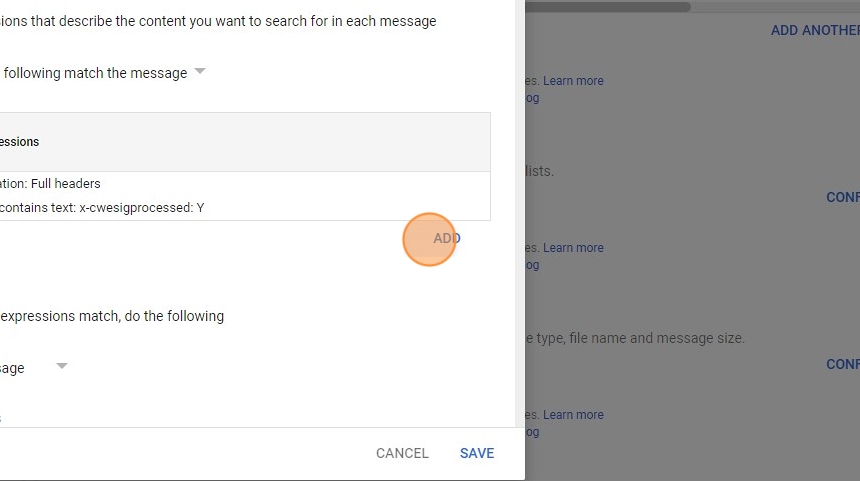
67. Click If ANY of the following match the message
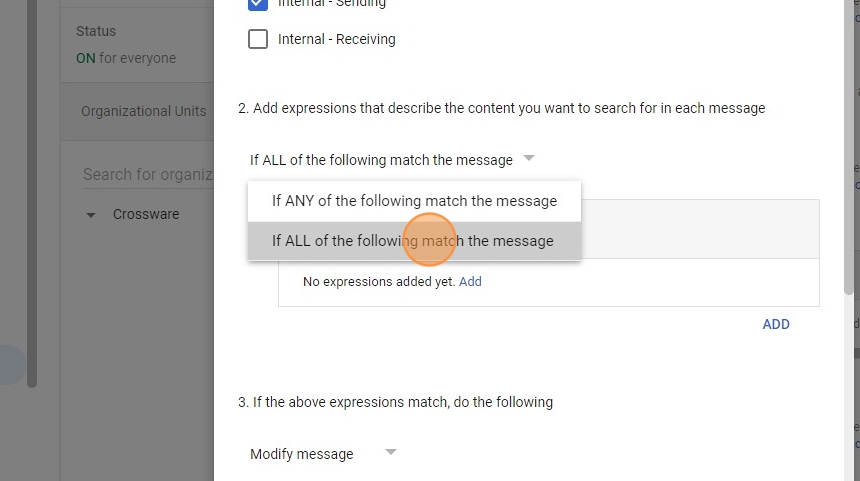
68. Click If ALL of the following match the message
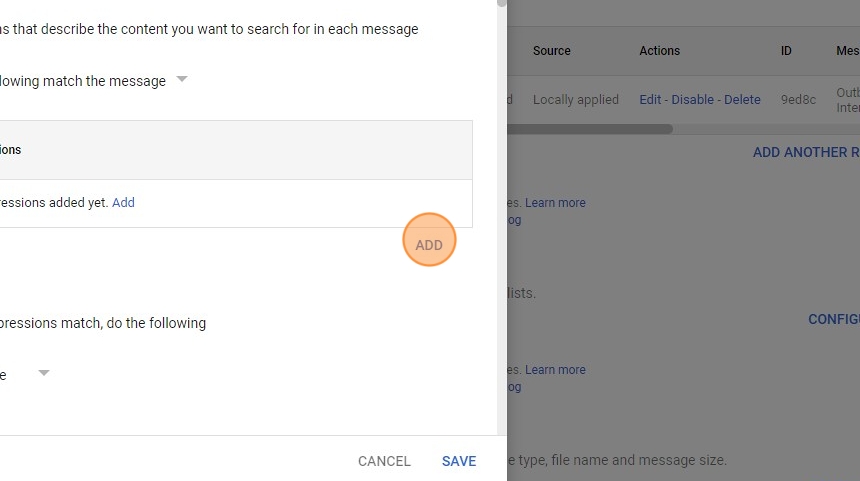
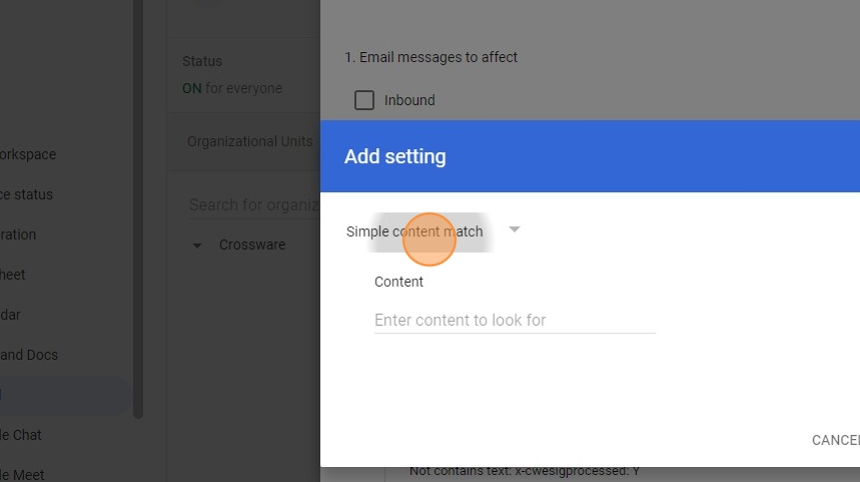
69. Click ADD
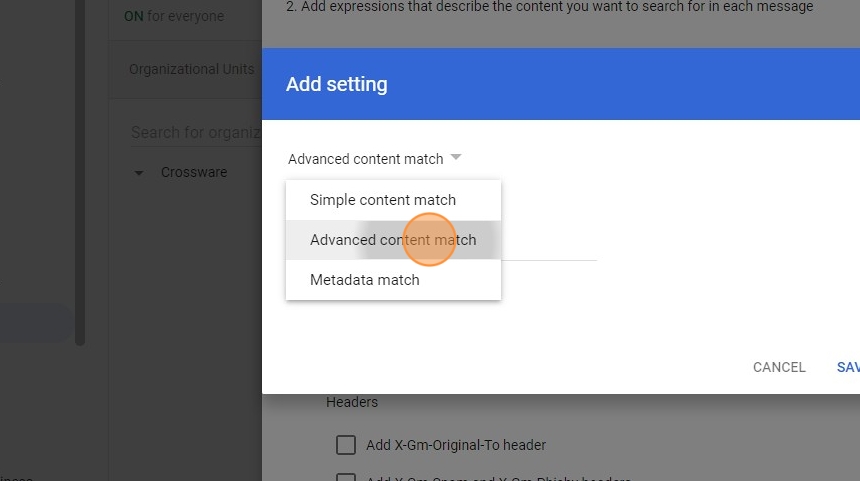
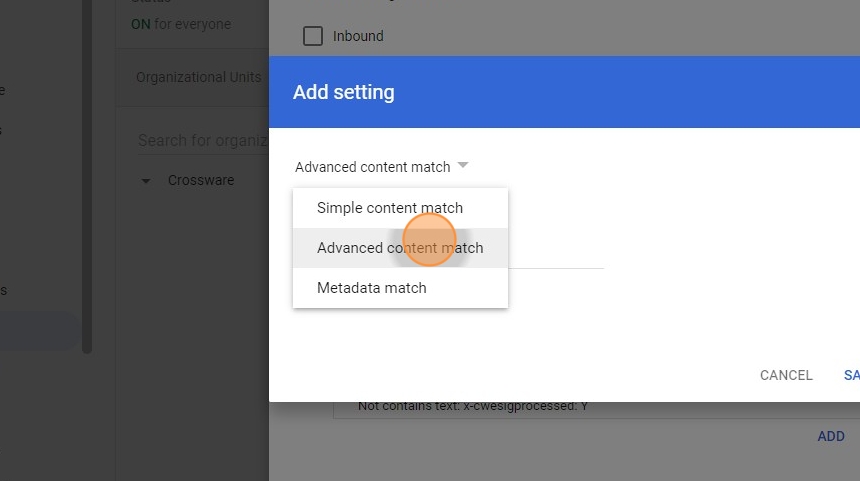
70. Click the Simple content match drop-down option
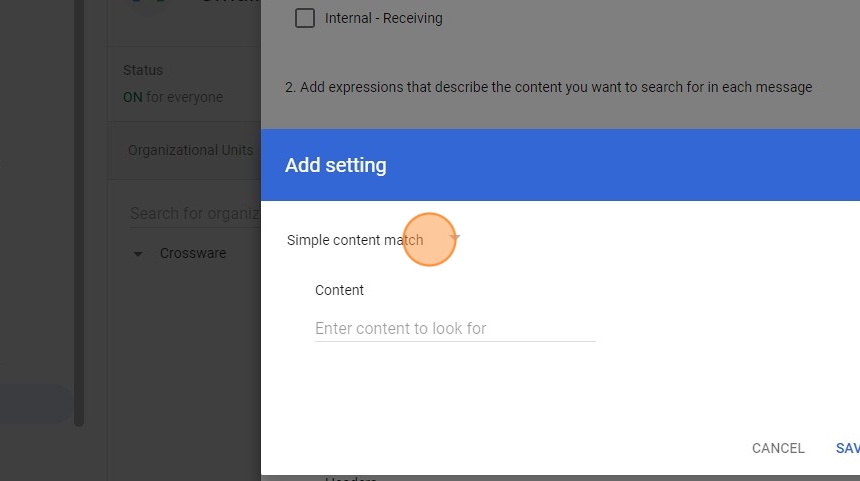
71. Select Advanced content match
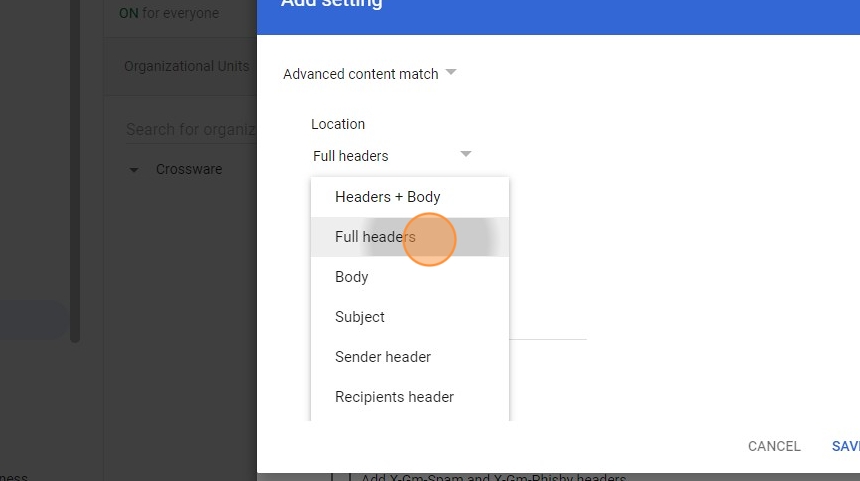
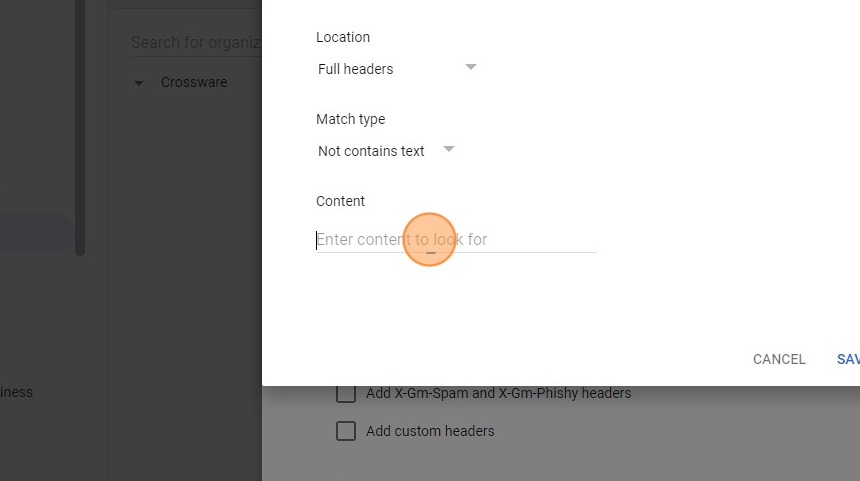
72. Click the Headers + Body drop-down option
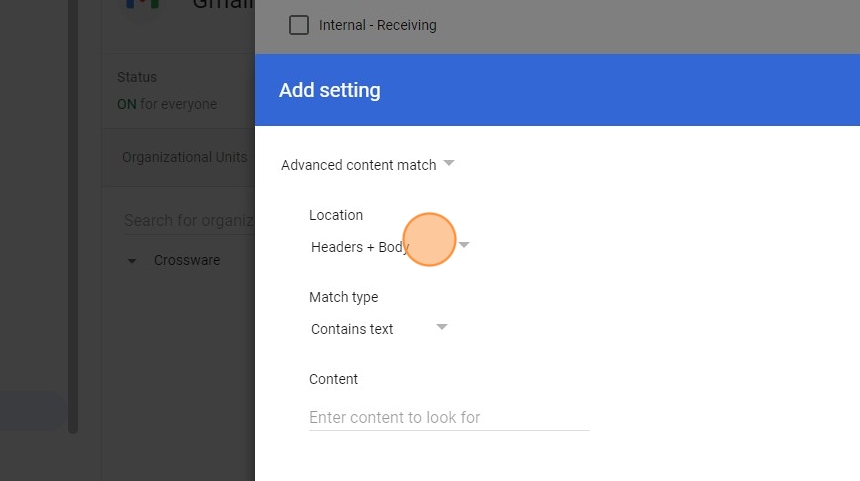
73. Select Full headers
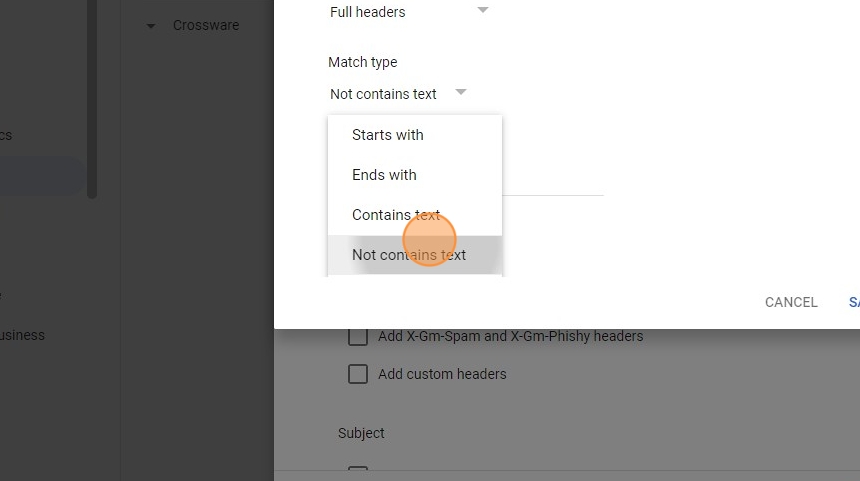
74. Click the Contains text drop-down option

75. Select Not contains text
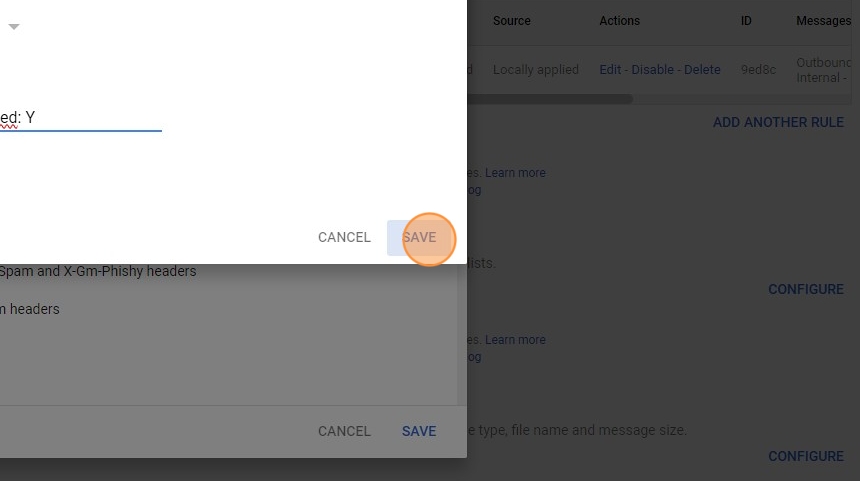
76. Click this field > Type "x-cwesigprocessed: Y"
77. Click Save
78. Click ADD
79. Click the Simple content match drop-down option
80. Click Advanced content match
81. Click Headers + Body
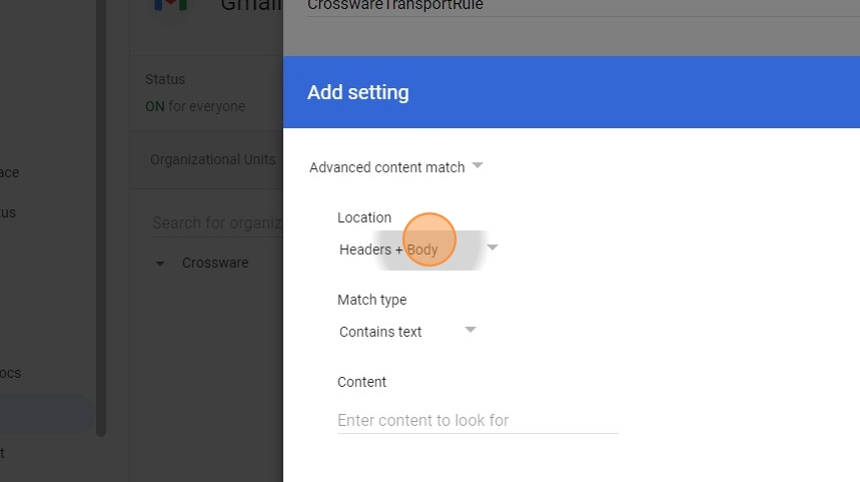
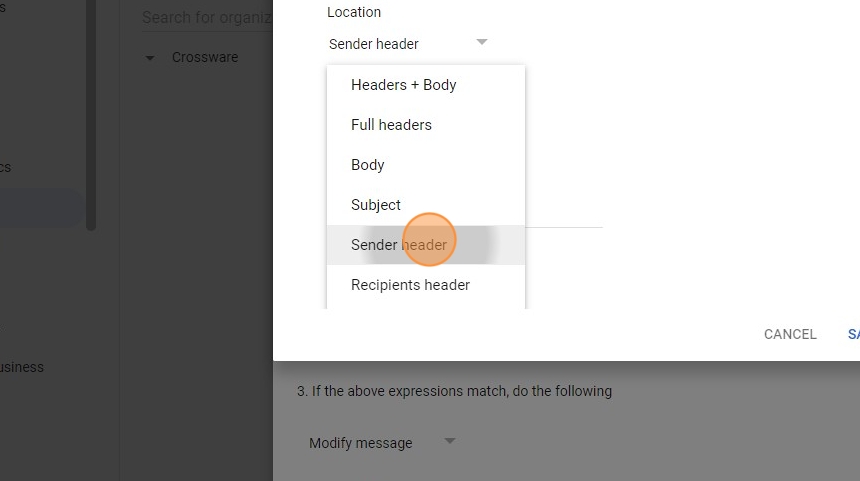
82. Click Sender header
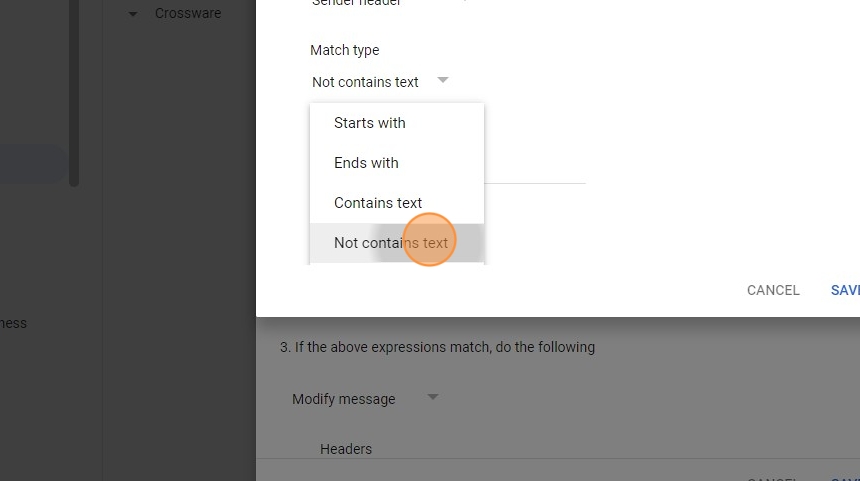
83. Click the Contains text drop-down option

84. Click Not contains text
85. Click this field.
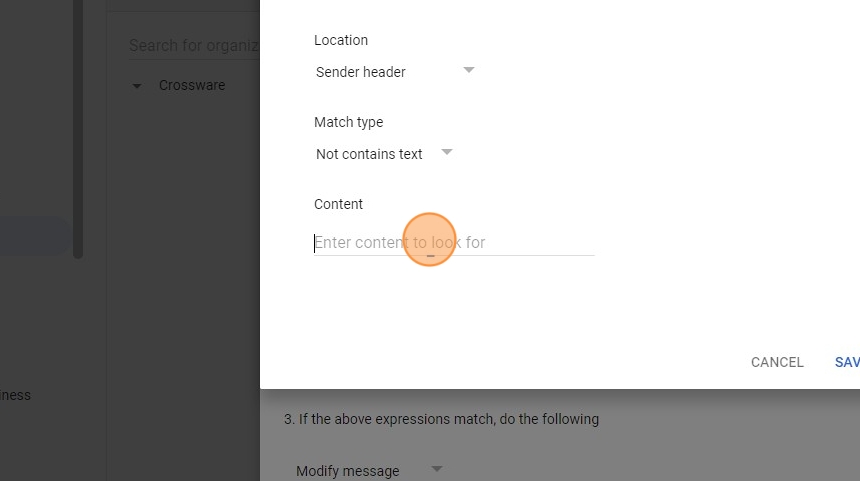
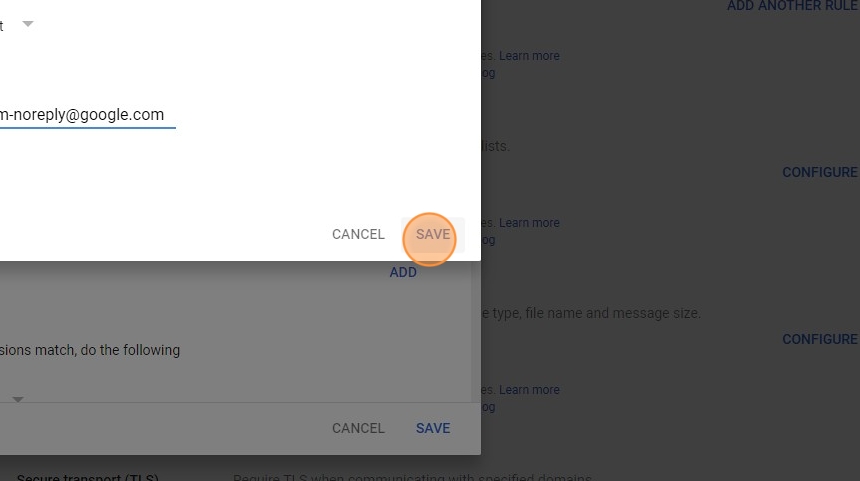
86. Type "drive-shares-dm-noreply@google.com"
87. Click SAVE
88. Under the Route section, select the Change the route option
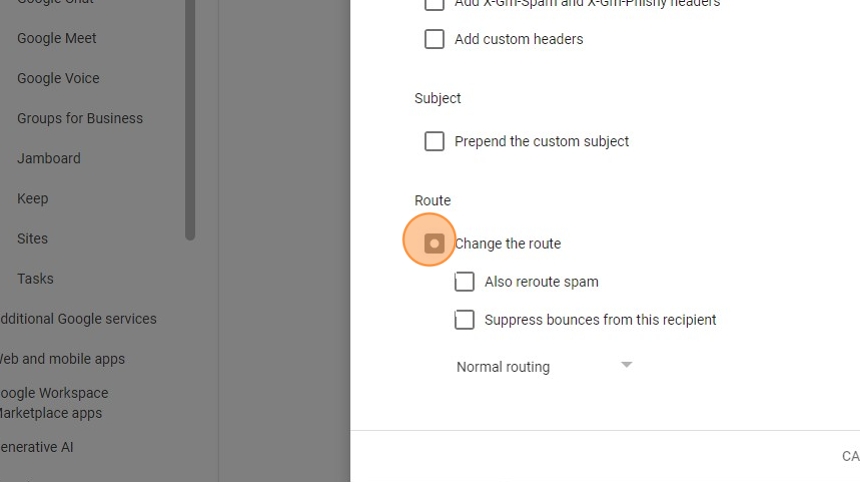
89. Click Normal routing drop-down menu > Select CrosswareOutboundHost

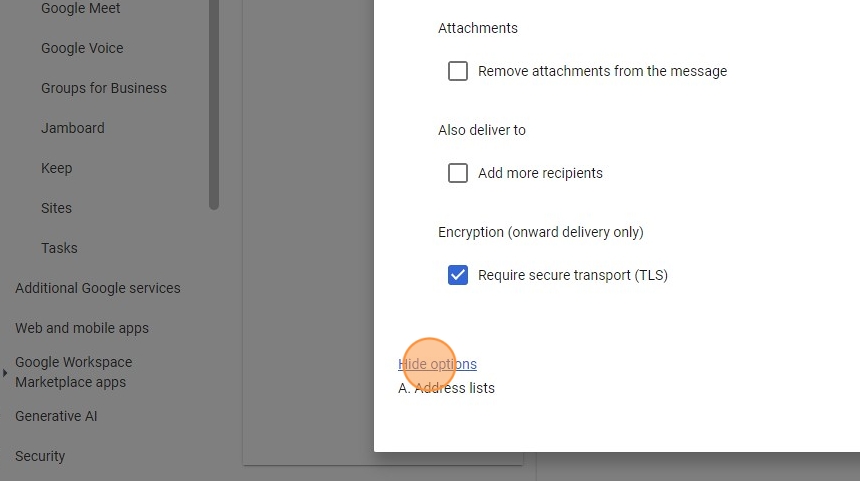
90. Select the Require secure transport (TLS) option in the Encryption (onward delivery only) section
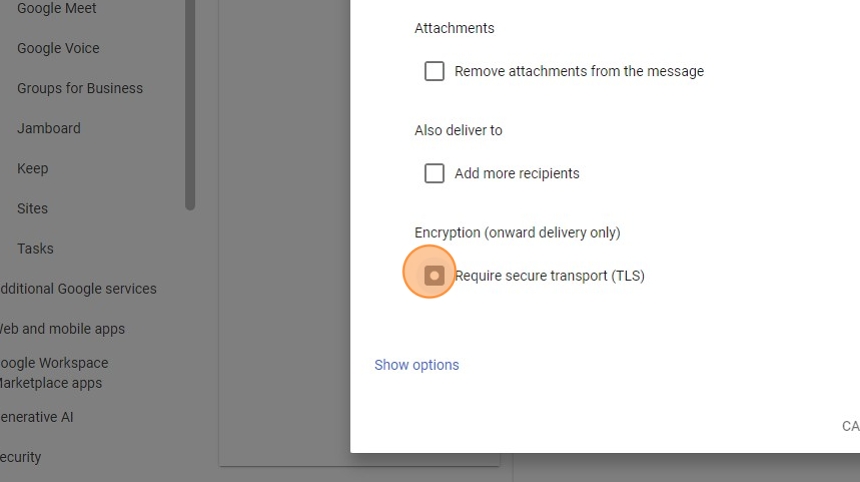
91. Click Show options
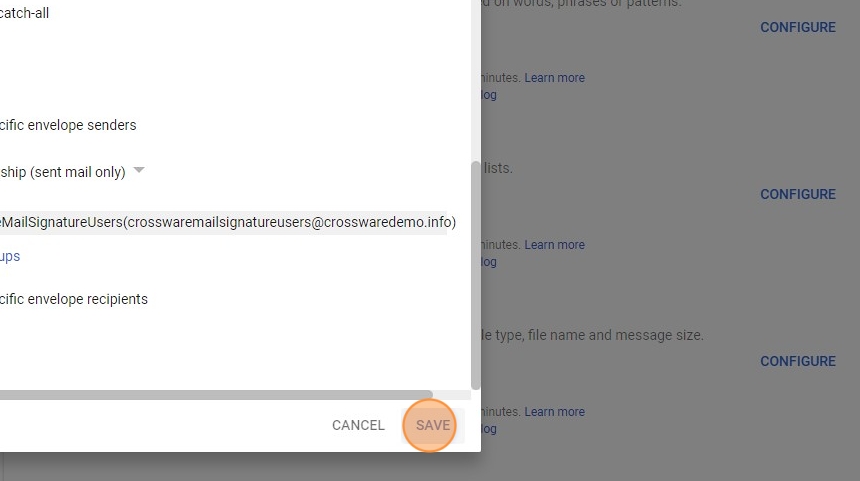
92. In the Envelope filter section, select Only affect specific envelope senders
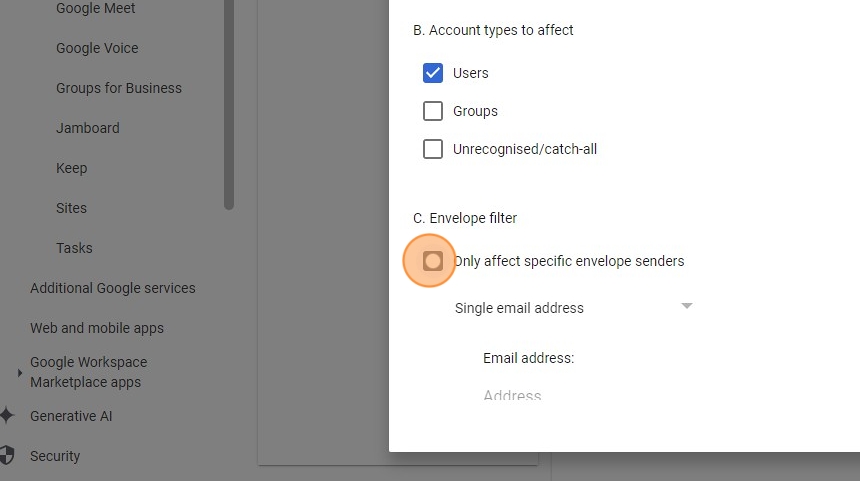
93. In the Account types to affect section, select both Users & Groups
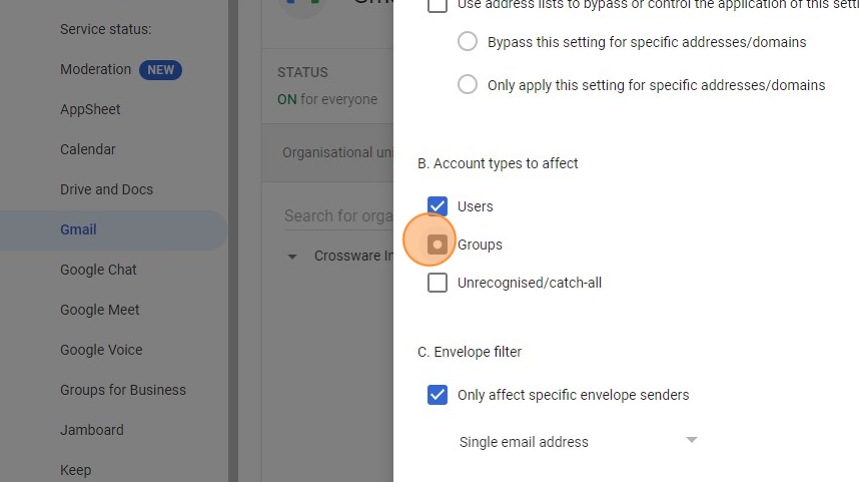
94. In the Envelope filter section, select the Single email address drop-down option >
Click Group membership (sent mail only)

95. Click Select groups
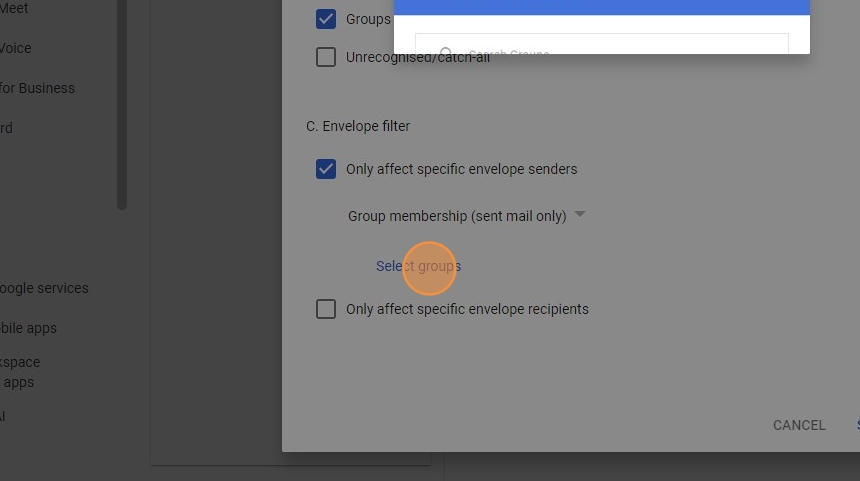
96. Select the "CrosswareMailSignatureUsers" group created in step 28 > Close the window

97. Click SAVE
Congratulations! You have completed your setup.
You can now log back into the Crossware Email Signature Portal to configure your email Signatures